
Salt Uses You Never Knew: Prepare to be amazed! I’m about to unlock a treasure trove of unexpected ways you can use that humble container of salt sitting in your pantry. Forget just seasoning your food; we’re diving deep into the world of DIY hacks and home remedies where salt reigns supreme.
For centuries, salt has been more than just a flavor enhancer. Think back to ancient civilizations – salt was so valuable it was used as currency! Roman soldiers were even paid in salt, giving rise to the word “salary.” Its preserving properties were crucial for survival, allowing people to store food for longer periods. Now, we’re rediscovering its versatility in a whole new light.
Are you tired of harsh chemical cleaners? Do you want to find natural solutions for everyday problems? Then you absolutely *need* to know these salt uses you never knew! From revitalizing your garden to tackling stubborn stains, salt is a surprisingly effective and eco-friendly alternative. I’m going to show you how to harness its power to simplify your life and save you money. Get ready to be surprised!
Unlocking the Hidden Potential of Salt: DIY Hacks You Need to Know
Hey there, fellow DIY enthusiasts! We all know salt as that trusty seasoning in our kitchens, but trust me, it’s so much more than just a flavor enhancer. I’m going to show you some amazing DIY hacks using salt that will blow your mind and make your life a little easier (and maybe even a little cleaner!). Get ready to be amazed by the versatility of this humble ingredient!
Cleaning and Stain Removal Powerhouse
Salt’s abrasive texture and chemical properties make it a fantastic natural cleaner. Forget harsh chemicals; let’s harness the power of salt!
Cleaning a Scorched Iron
Is your iron looking a little worse for wear with those burnt marks? Don’t worry, salt to the rescue!
1. Gather Your Supplies: You’ll need a clean cotton cloth, some table salt, and your iron (unplugged, of course!).
2. Prepare the Surface: Lay the cotton cloth flat on your ironing board or a heat-resistant surface.
3. Sprinkle the Salt: Generously sprinkle a layer of salt onto the cloth. Make sure it’s evenly distributed.
4. Iron Away the Grime: Turn your iron on to the lowest setting (dry setting, no steam!). Once it’s warm, gently iron over the salt-covered cloth in circular motions. The salt will act as a mild abrasive, lifting the burnt residue from the iron’s soleplate.
5. Wipe Clean: Unplug the iron and let it cool completely. Once cool, wipe the soleplate with a clean, damp cloth to remove any remaining salt and residue. Your iron should now be sparkling clean!
Removing Red Wine Stains
Oh no! Red wine spillage? Don’t panic! Salt is your best friend in this situation. The key is to act fast!
1. Blot, Don’t Rub: Immediately blot the stain with a clean cloth or paper towel to absorb as much of the wine as possible. Rubbing will only spread the stain.
2. Cover with Salt: Generously cover the entire stain with a thick layer of salt. The salt will absorb the remaining wine.
3. Wait Patiently: Let the salt sit on the stain for several hours, or even overnight. You’ll notice the salt gradually turning pink as it absorbs the wine.
4. Vacuum or Brush Away: Once the salt has dried, vacuum it up or brush it away with a soft brush.
5. Launder as Usual: Launder the item as usual, following the care instructions on the label. If the stain is particularly stubborn, you may need to repeat the process.
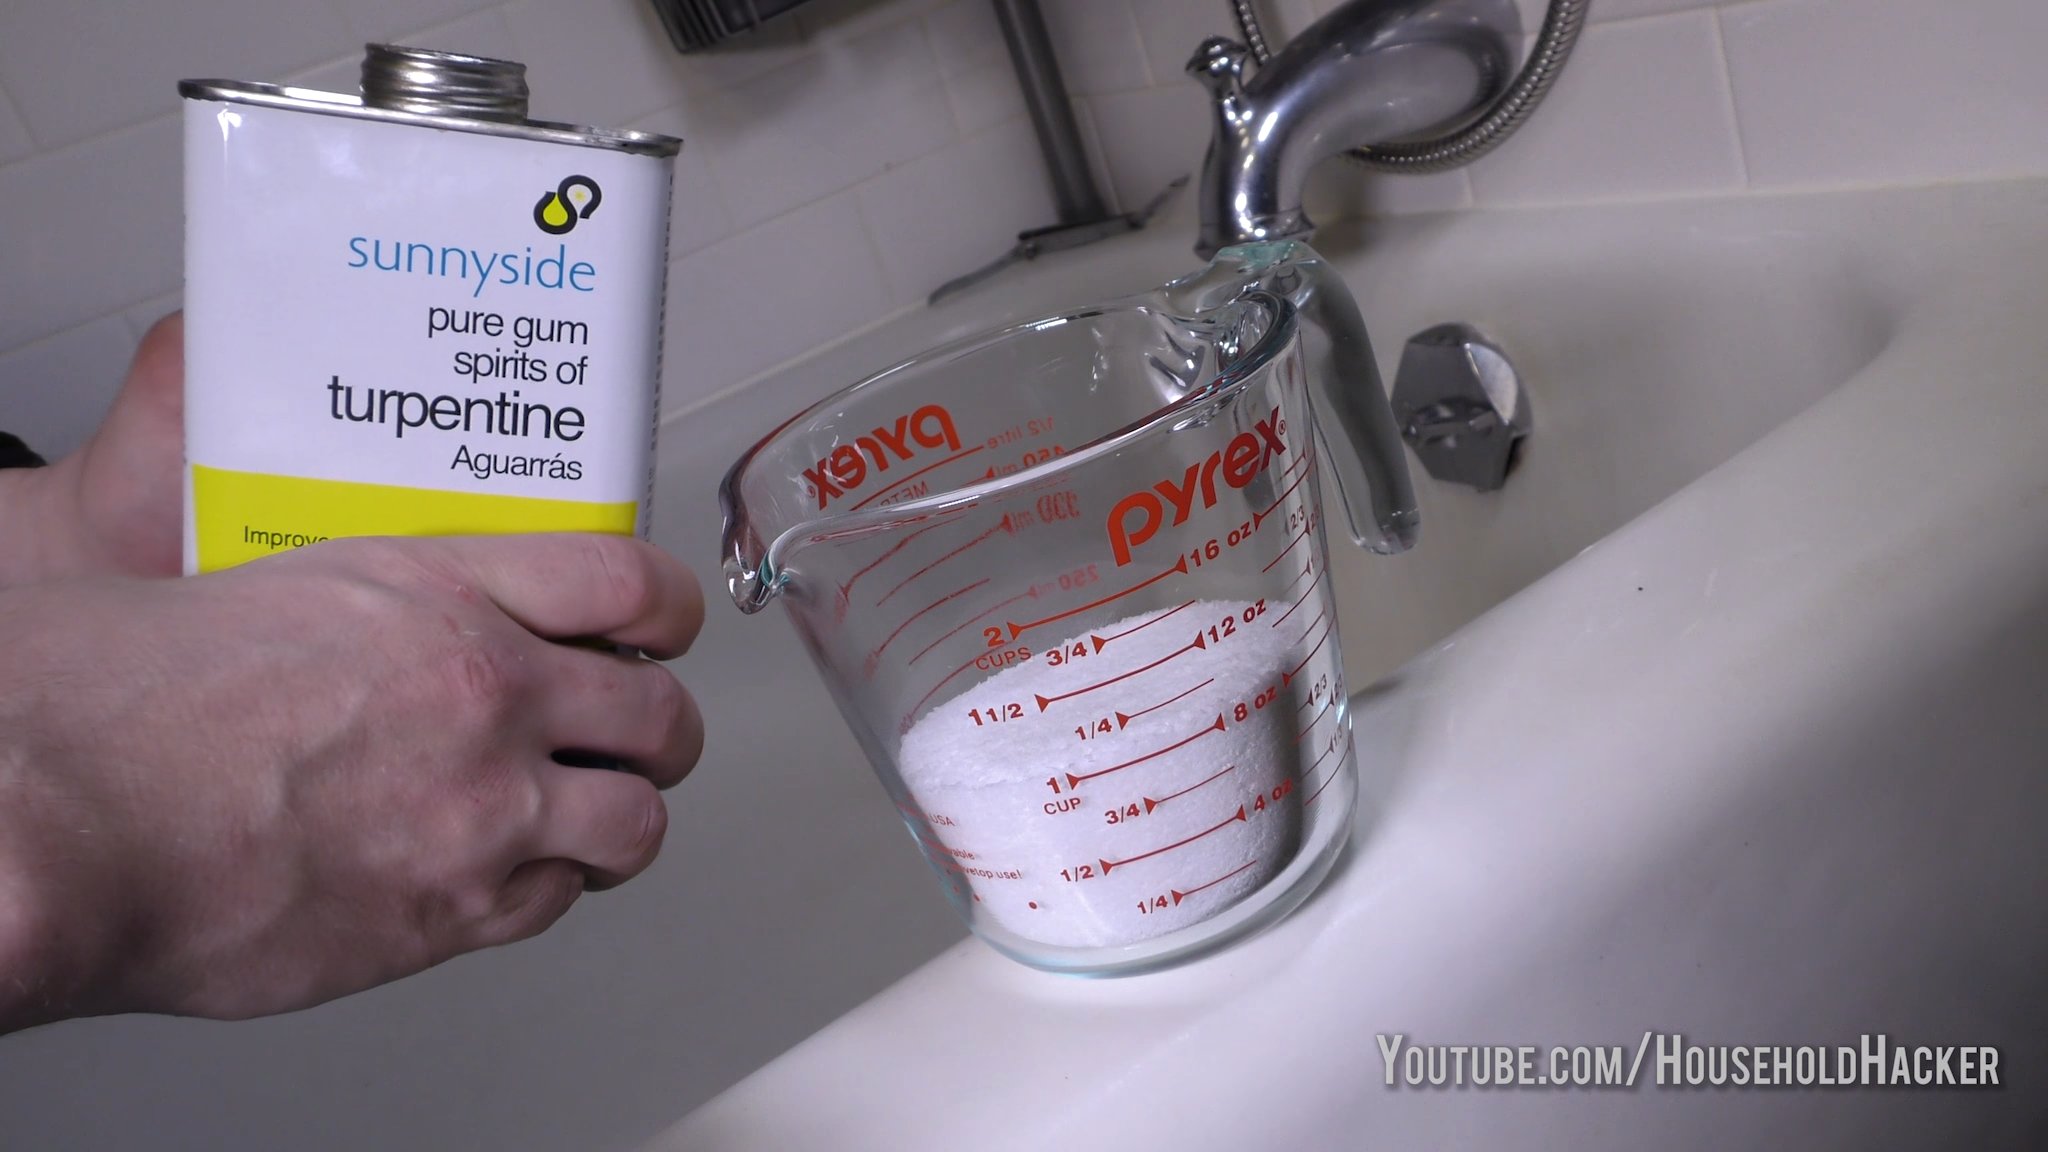
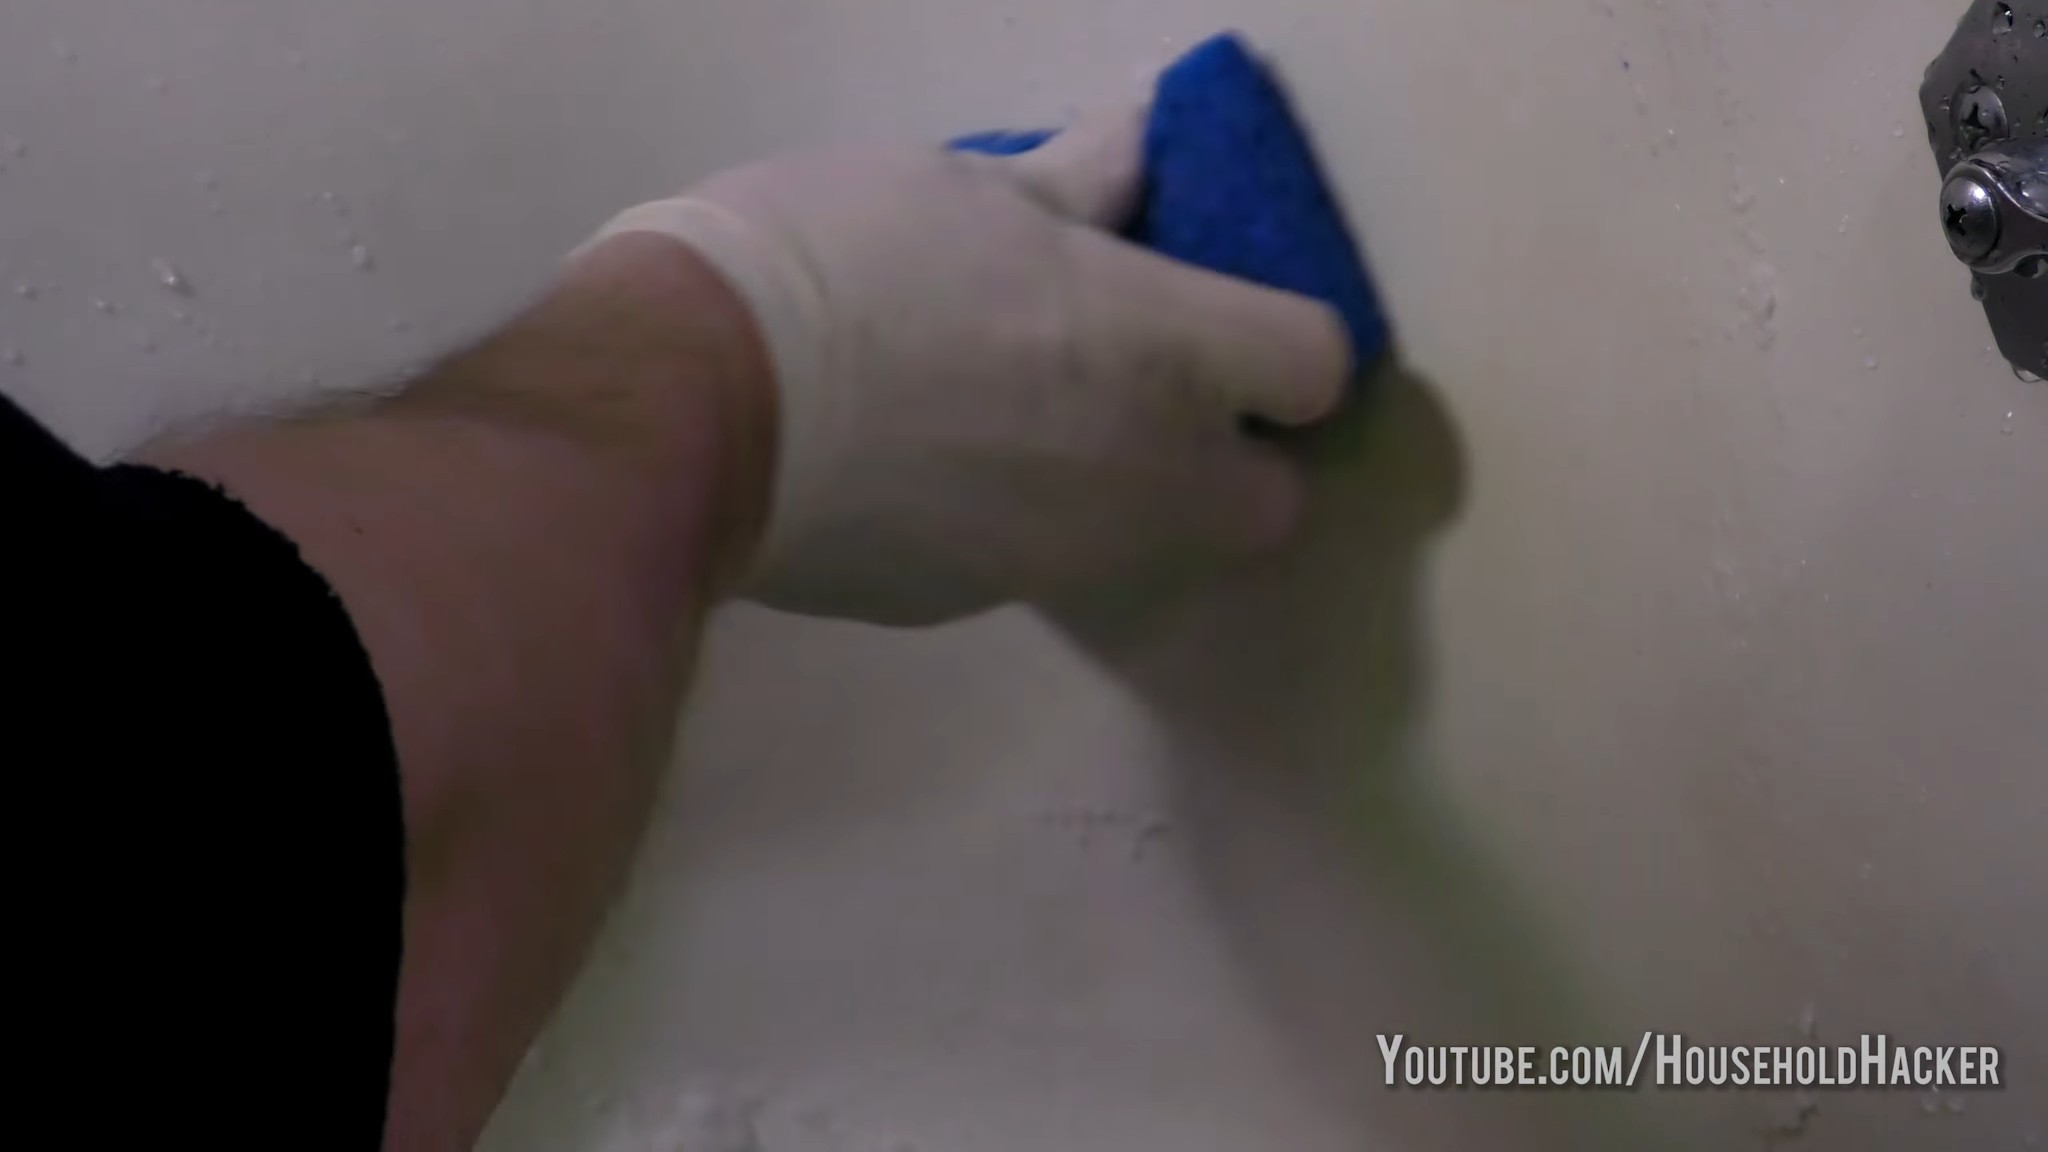
Cleaning Copper and Brass
Bring back the shine to your tarnished copper and brass items with this simple salt paste.
1. Make the Paste: In a small bowl, mix equal parts salt, flour, and white vinegar to form a paste. The consistency should be similar to toothpaste.
2. Apply the Paste: Apply the paste to the tarnished copper or brass item, making sure to cover all affected areas.
3. Let it Sit: Let the paste sit for about 15-30 minutes. The acid in the vinegar will help to break down the tarnish.
4. Scrub Gently: Using a soft cloth or sponge, gently scrub the item to remove the tarnish.
5. Rinse and Dry: Rinse the item thoroughly with warm water and dry it with a clean cloth. Your copper or brass item should now be gleaming!
Cleaning a Cast Iron Skillet
Cast iron skillets are amazing, but cleaning them can be tricky. Salt is a gentle yet effective way to remove food residue without damaging the seasoning.
1. Rinse and Scrape: After cooking, rinse the skillet with warm water while it’s still warm. Use a spatula or scraper to remove any loose food particles.
2. Add Salt and Oil: Add a generous amount of coarse salt (like kosher salt) to the skillet, along with a tablespoon or two of cooking oil.
3. Scrub with Salt: Use a clean cloth or sponge to scrub the skillet with the salt and oil mixture. The salt will act as a mild abrasive, removing any remaining food residue.
4. Rinse and Dry: Rinse the skillet thoroughly with warm water.
5. Dry and Season: Dry the skillet completely with a clean cloth. Then, place it on the stovetop over low heat to ensure it’s completely dry. Once dry, add a teaspoon of oil and rub it all over the inside of the skillet. Heat for a few minutes until the oil starts to smoke slightly, then remove from heat and let it cool. This will help maintain the seasoning.
Household Hacks with Salt
Beyond cleaning, salt can be used for a variety of other clever household hacks.
Testing Egg Freshness
Wondering if those eggs in your fridge are still good? Here’s a simple salt water test.
1. Prepare the Solution: Fill a glass or bowl with water and add about two tablespoons of salt. Stir until the salt is dissolved.
2. Submerge the Egg: Gently place the egg in the salt water solution.
3. Observe the Egg:
* If the egg sinks and lies flat on its side, it’s fresh.
* If the egg sinks but stands on one end, it’s still good but should be used soon.
* If the egg floats, it’s bad and should be discarded. The air cell inside the egg increases as it ages, causing it to float.
Keeping Cut Flowers Fresh Longer
Want to extend the life of your beautiful bouquet? Salt can help!
1. Prepare the Solution: Add a pinch of salt to the vase water. You can also add a crushed aspirin or a teaspoon of sugar for added benefits.
2. Change the Water Regularly: Change the water every day or two, adding a fresh pinch of salt each time. This will help to inhibit bacterial growth and keep your flowers looking fresh longer.
Preventing Ants
Ants invading your home? Salt can act as a natural deterrent.
1. Identify Ant Trails: Observe where the ants are entering your home and follow their trails.
2. Create a Barrier: Sprinkle a line of salt along the ant trails, doorways, windowsills, or any other areas where ants are entering.
3. Repeat as Needed: Repeat the application of salt as needed, especially after rain or cleaning. The salt will disrupt the ants’ scent trails and deter them from entering your home.
Extinguishing Grease Fires
Important Safety Note: Never use water on a grease fire! Salt is a safe and effective way to smother a small grease fire.
1. Turn Off the Heat: Immediately turn off the heat source.
2. Smother the Flames: Carefully pour a generous amount of salt onto the flames, completely covering the fire. The salt will deprive the fire of oxygen and extinguish it.
3. Do Not Move the Pan: Leave the pan undisturbed until it has cooled completely.
4. Dispose of Properly: Once the pan is cool, dispose of the salt and grease properly.
Cleaning Drains
A clogged drain is a common household problem. Salt, combined with hot water, can help to break down grease and debris.
1. Pour in Salt: Pour about 1/2 cup of salt down the drain.
2. Add Hot Water: Follow with a pot of boiling water.
3. Let it Sit: Let the mixture sit for about 30 minutes.
4. Flush with Water: Flush the drain with hot water for several minutes to clear any remaining debris.
Beauty and Personal Care Hacks with Salt
Believe it or not, salt can also be used in your beauty routine!
Salt Scrub for Exfoliation
Create a simple and effective salt scrub to exfoliate your skin.
1. Choose Your Salt: You can use sea salt, Epsom salt, or even table salt for this scrub. Sea salt and Epsom salt are particularly beneficial due to their mineral content.
2. Mix with Oil: In a bowl, mix equal parts salt and your favorite oil, such as olive oil, coconut oil, or almond oil.
3. Add Essential Oils (Optional): For added benefits and fragrance, you can add a few drops of your favorite essential oils, such as lavender, peppermint, or tea tree oil.
4. Apply to Skin: In the shower or bath, apply the scrub to your skin in circular motions. Focus on areas that are dry or rough, such as elbows, knees, and feet.
5. Rinse Thoroughly: Rinse your skin thoroughly with warm water.
6. Moisturize: After exfoliating, apply a moisturizer to your skin to keep it hydrated.
Salt Water Gargle for Sore Throat
A salt water garg
Conclusion
So, there you have it – a collection of unexpected and incredibly useful salt uses you probably never knew existed! From banishing stubborn stains to reviving wilted greens and even enhancing your beauty routine, salt proves itself to be far more than just a simple seasoning. It’s a versatile powerhouse hiding in plain sight, ready to tackle a surprising array of household challenges.
Why is this DIY approach a must-try? Because it’s economical, environmentally friendly, and often more effective than commercial alternatives loaded with harsh chemicals. Think about it: you’re already likely to have salt in your pantry. Why not leverage its natural properties to simplify your life and save money in the process?
Consider these variations to further personalize your salt-powered solutions:
* **For a more potent stain remover:** Combine salt with lemon juice or white vinegar for extra cleaning power. The acidity will help break down stubborn stains, while the salt acts as a gentle abrasive.
* **Infuse your bath salts:** Add essential oils like lavender, eucalyptus, or chamomile to your homemade bath salts for a truly relaxing and therapeutic experience. Experiment with different blends to find your perfect scent profile.
* **Create a salt scrub with added benefits:** Mix salt with coconut oil or olive oil and a few drops of your favorite essential oil for a luxurious and exfoliating body scrub. The oil will moisturize your skin, while the salt gently removes dead skin cells.
* **Enhance your garden:** Epsom salt (magnesium sulfate) can be used to boost plant growth, especially for tomatoes and peppers. Just be sure to research the specific needs of your plants before applying.
We’ve explored a range of unconventional applications, showcasing the incredible versatility of salt uses. Now, it’s your turn to put these tips to the test! We’re confident that you’ll be amazed by the results.
Don’t just take our word for it. We wholeheartedly encourage you to try these DIY tricks and discover the magic of salt for yourself. Share your experiences with us! Let us know which tips worked best for you, any variations you tried, and any other surprising uses you’ve discovered. Your feedback will not only help other readers but also contribute to our collective knowledge of this amazing natural resource. So, go ahead, grab that salt shaker, and prepare to be amazed! We can’t wait to hear your stories!
Frequently Asked Questions (FAQs)
What kind of salt should I use for these DIY tricks?
Generally, plain table salt or sea salt will work for most of these applications. However, for certain uses, like bath salts or plant care, Epsom salt (magnesium sulfate) is specifically recommended. Epsom salt has different chemical properties and provides magnesium and sulfate, which can be beneficial for relaxation and plant growth. For cleaning, avoid using iodized salt on delicate surfaces, as the iodine can sometimes cause staining. Kosher salt is also a good option for cleaning as it doesn’t contain additives.
Is salt safe to use on all surfaces?
While salt is generally a gentle abrasive, it’s always a good idea to test it on an inconspicuous area first, especially when cleaning delicate surfaces like polished wood or certain types of fabric. Avoid using salt on surfaces that are easily scratched, such as soft plastics or painted finishes. When using salt as a cleaning agent, always use a soft cloth or sponge to avoid damaging the surface.
Can I use salt to remove all types of stains?
Salt is effective for removing many types of stains, especially fresh spills like wine, grease, or ink. However, it may not be as effective on older, set-in stains. For stubborn stains, you may need to combine salt with other cleaning agents like lemon juice, vinegar, or baking soda. Always pre-treat the stain with salt before washing the item.
How much salt should I use for each application?
The amount of salt you need will vary depending on the specific application. For cleaning, a small amount of salt is usually sufficient. For example, a tablespoon or two of salt mixed with water or vinegar can be effective for cleaning countertops or sinks. For bath salts, you can use up to a cup of salt per bath. For plant care, follow the specific instructions for the type of plant and the amount of Epsom salt to use. When in doubt, start with a small amount and increase as needed.
Are there any precautions I should take when using salt for these DIY tricks?
When using salt for cleaning, avoid getting it into your eyes or mouth. If you’re using salt for skin care, be sure to test it on a small area of skin first to check for any allergic reactions. If you have sensitive skin, you may want to use a finer grain of salt or dilute it with water or oil. When using Epsom salt for plant care, be careful not to over-fertilize, as this can damage your plants. Always follow the instructions carefully and monitor your plants for any signs of stress.
Can I use salt to get rid of weeds?
Yes, salt can be used as a natural weed killer. However, it’s important to use it carefully, as it can also harm desirable plants. To use salt as a weed killer, dissolve a cup of salt in a gallon of water and pour it directly onto the weeds. Avoid getting the salt water on any plants you want to keep. Salt works by dehydrating the weeds, so it’s most effective on young, small weeds. Be aware that using salt as a weed killer can also affect the soil, making it less suitable for plant growth in the future.
How does salt help with cleaning?
Salt acts as a gentle abrasive, helping to scrub away dirt and grime without scratching surfaces. It also has absorbent properties, which can help to soak up spills and stains. Additionally, salt can help to deodorize surfaces and kill bacteria. When combined with other cleaning agents like vinegar or lemon juice, salt can create a powerful cleaning solution that is both effective and environmentally friendly. The combination of salt and an acid like vinegar or lemon juice creates a chemical reaction that helps to break down dirt and grime.
Is it safe to use salt on my skin?
In general, yes, salt is safe to use on your skin, but it’s important to consider your skin type and any sensitivities you may have. Salt scrubs can be beneficial for exfoliating dead skin cells and improving circulation. However, if you have sensitive skin, you may want to use a finer grain of salt or dilute it with water or oil to avoid irritation. Avoid using salt on broken or irritated skin. Always test a small area of skin first to check for any allergic reactions.
Can salt help with sore throats?
Yes, gargling with warm salt water can help to relieve sore throat pain and inflammation. The salt helps to draw out fluids from the tissues in the throat, which can reduce swelling and discomfort. To make a salt water gargle, dissolve 1/2 teaspoon of salt in 8 ounces of warm water. Gargle for 30 seconds, then spit out the water. Repeat several times a day as needed.
Where can I find more information about salt uses?
There are many resources available online and in libraries that provide more information about the various uses of salt. You can search for articles, books, and videos on topics such as salt cleaning, salt skin care, and salt plant care. You can also consult with experts such as gardeners, cleaning professionals, or dermatologists for advice on specific applications. Remember to always do your research and follow safety precautions when using salt for any DIY project.


Leave a Comment