
Soil Free Microgreens Setup: Imagine harvesting a vibrant, nutrient-packed salad right from your kitchen counter, without ever getting your hands dirty with soil! Sounds like something out of a futuristic movie, right? Well, it’s not! I’m here to guide you through the surprisingly simple process of creating your own soil-free microgreens setup.
Growing microgreens has a rich history, dating back centuries, with evidence suggesting their cultivation in ancient China. Today, they’re experiencing a massive resurgence in popularity, and for good reason! These tiny powerhouses are packed with vitamins and minerals, often containing significantly higher nutrient levels than their mature counterparts.
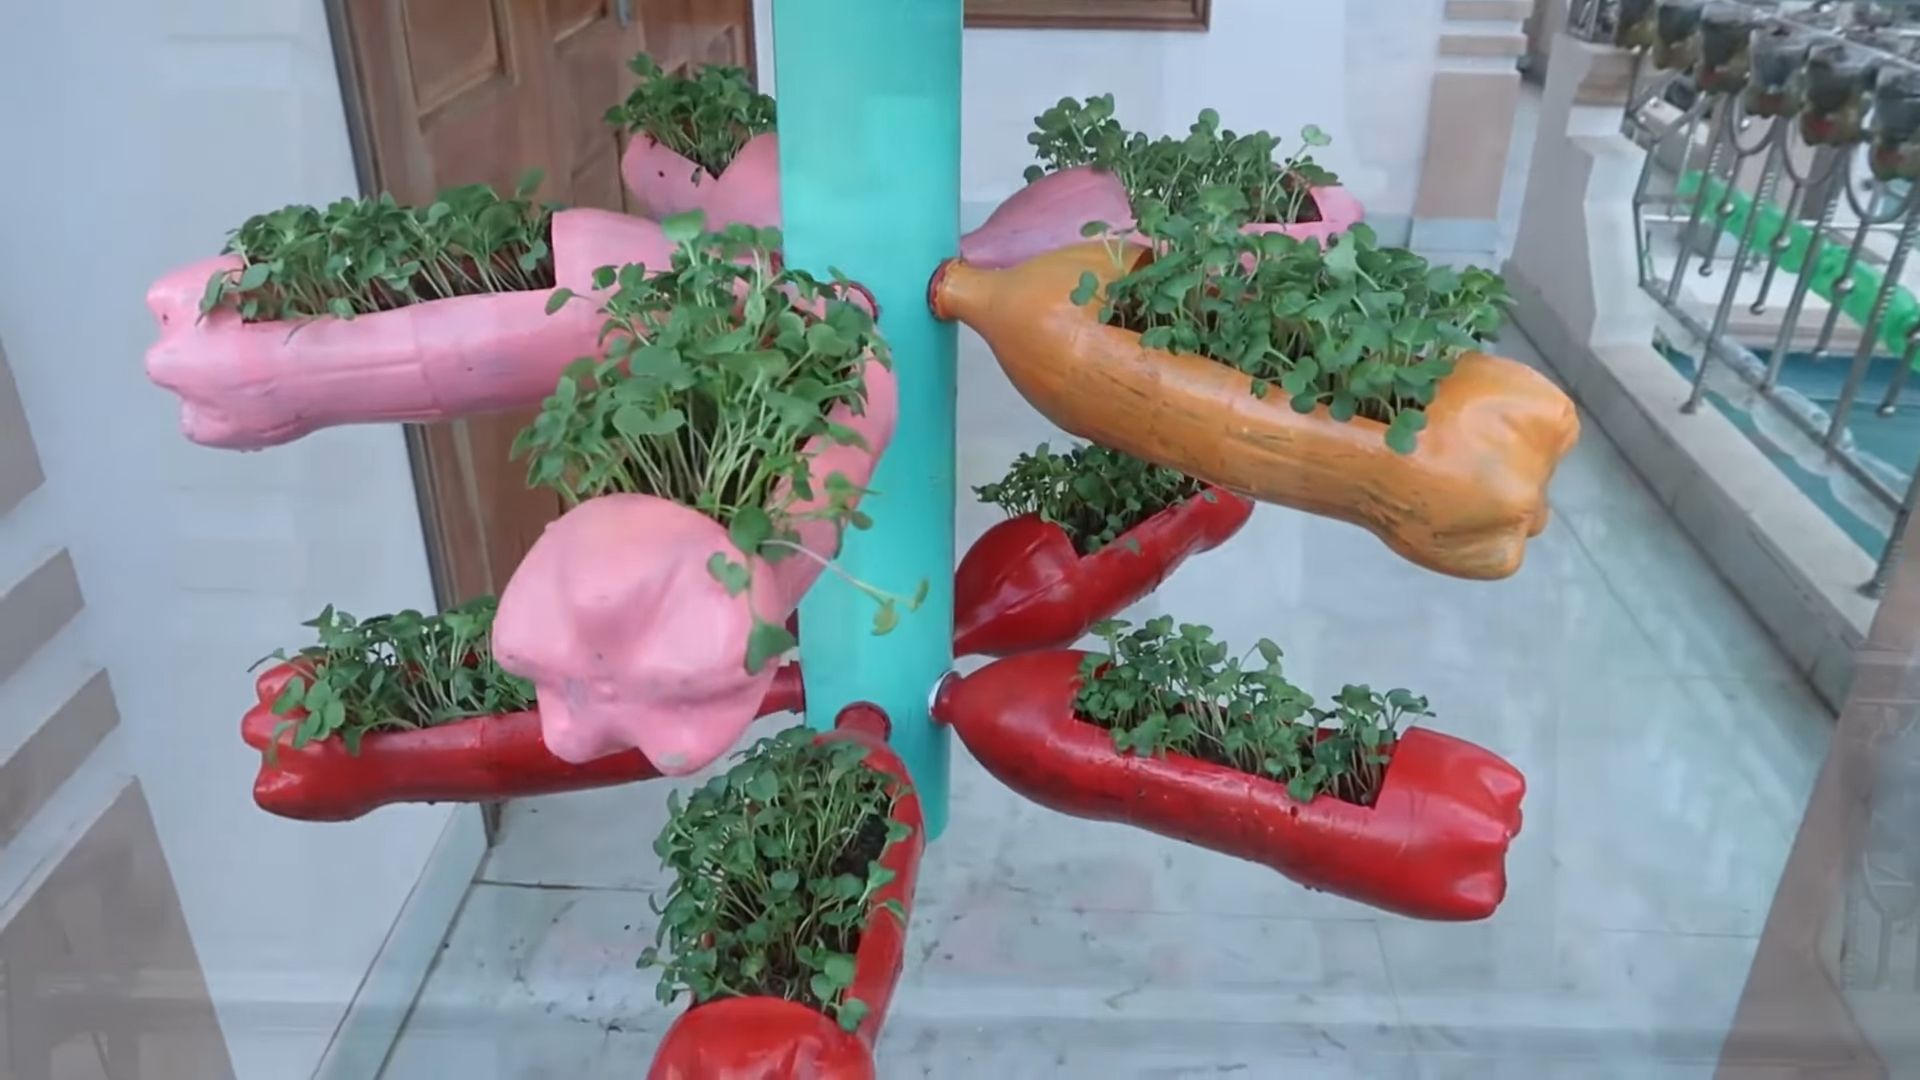
But why go soil-free? Well, for starters, it eliminates the mess and potential for soilborne diseases. It’s also incredibly space-efficient, making it perfect for apartment dwellers or anyone with limited gardening space. Plus, let’s be honest, the idea of a clean, hassle-free gardening experience is incredibly appealing! This soil free microgreens setup is not only easy to manage but also allows for faster growth and cleaner harvests. I’m excited to show you how you can enjoy fresh, healthy microgreens year-round, regardless of your gardening experience. Let’s get started!
DIY Soil-Free Microgreens Setup: A Beginner’s Guide
Hey there, fellow gardening enthusiasts! Are you itching to grow your own fresh, nutrient-packed microgreens but dread the mess of soil? Well, you’re in luck! I’m going to walk you through creating a super easy and clean soil-free microgreens setup. Trust me, it’s simpler than you think, and the results are incredibly rewarding. Get ready to enjoy delicious, homegrown greens in just a matter of days!
Why Go Soil-Free?
Before we dive in, let’s quickly touch on why soil-free microgreens are so awesome:
* Cleanliness: No soil means no dirt splatters, less mess, and a generally cleaner growing environment. This is a huge plus if you’re growing indoors.
* Reduced Risk of Disease: Soil can harbor pathogens that can harm your microgreens. Going soil-free minimizes this risk.
* Faster Growth: In some cases, microgreens grown hydroponically (without soil) can grow faster than those grown in soil.
* Space Saving: You can easily stack trays and create a vertical growing system, maximizing your space.
* Nutrient Control: You have more precise control over the nutrients your microgreens receive, leading to healthier and more flavorful greens.
What You’ll Need: The Supply List
Okay, let’s gather our supplies. Here’s what you’ll need to build your soil-free microgreens setup:
* Two Shallow Trays: You’ll need one tray with drainage holes (the growing tray) and one without (the bottom tray to hold water). I recommend trays that are around 10×20 inches. You can find these at most garden centers or online.
* Growing Medium: This is what will support your microgreens. I recommend using coco coir mats, hemp mats, or jute mats. These are readily available online and are biodegradable. You can also use paper towels, but they tend to decompose faster and may require more frequent replacement.
* Spray Bottle: For misting your microgreens. A good quality spray bottle that produces a fine mist is ideal.
* Microgreen Seeds: Choose your favorite microgreen seeds! Radish, broccoli, kale, sunflower, and pea shoots are all great options for beginners. Make sure you buy seeds specifically intended for microgreens, as they are often untreated.
* Water: Filtered water is best, but tap water that has been left out for 24 hours to allow chlorine to dissipate is also fine.
* Optional: Hydrogen Peroxide (3%): A small amount of hydrogen peroxide can help prevent mold growth.
* Optional: Grow Light: While not essential, a grow light can significantly improve the growth and color of your microgreens, especially if you don’t have a sunny windowsill.
* Optional: Small Fan: A small fan can help improve air circulation and prevent mold growth.
Step-by-Step Instructions: Building Your Soil-Free Microgreens Oasis
Alright, let’s get our hands dirty (well, not really, since we’re going soil-free!). Follow these steps to create your own microgreens haven:
1. Prepare Your Growing Medium
This step depends on the type of growing medium you’ve chosen:
* Coco Coir, Hemp, or Jute Mats: These usually come in pre-cut sheets. Simply place the mat into your growing tray (the one with drainage holes). You may need to trim it slightly to fit perfectly. Then, thoroughly moisten the mat with water. You want it to be damp but not soaking wet. Gently press down on the mat to ensure it’s evenly saturated.
* Paper Towels: Layer several sheets of paper towels in your growing tray until you have a thickness of about 1/4 inch. Thoroughly moisten the paper towels with water, ensuring they are evenly saturated. Be careful not to tear the paper towels.
2. Seed Soaking (Optional but Recommended)
Soaking your seeds before planting can significantly improve germination rates.
* Place your microgreen seeds in a clean jar or bowl.
* Add enough water to cover the seeds completely.
* Let the seeds soak for the recommended time, which varies depending on the type of seed. Generally, smaller seeds like broccoli and kale only need to soak for a few hours, while larger seeds like sunflower and pea shoots can soak for 8-12 hours. Check your seed packet for specific instructions.
* After soaking, drain the seeds thoroughly.
3. Sowing Your Seeds
Now comes the fun part – planting!
* Even Distribution is Key: Sprinkle your seeds evenly over the surface of your moistened growing medium. Don’t overcrowd the seeds, as this can lead to mold growth and stunted growth. A good rule of thumb is to aim for a density where the seeds are touching but not overlapping.
* Gentle Pressing: After sowing, gently press the seeds into the growing medium. This helps ensure good contact between the seeds and the moisture. You can use your hand or a clean spoon to do this.
* Misting: Lightly mist the seeds with water using your spray bottle.
4. The Blackout Period: Creating the Ideal Germination Environment
This is a crucial step for many microgreens. The blackout period helps the seeds germinate evenly and encourages them to stretch towards the light, resulting in taller, more uniform seedlings.
* Covering the Seeds: Place the second tray (the one without drainage holes) directly on top of the growing tray, creating a dark, enclosed environment. You can also use a lid or any other opaque material to cover the seeds.
* Weighting (Optional): Adding a light weight on top of the cover can further improve germination. A small book or a few cans of food will do the trick.
* Maintaining Moisture: Check the moisture level of the growing medium daily. If it feels dry, gently mist the seeds with water.
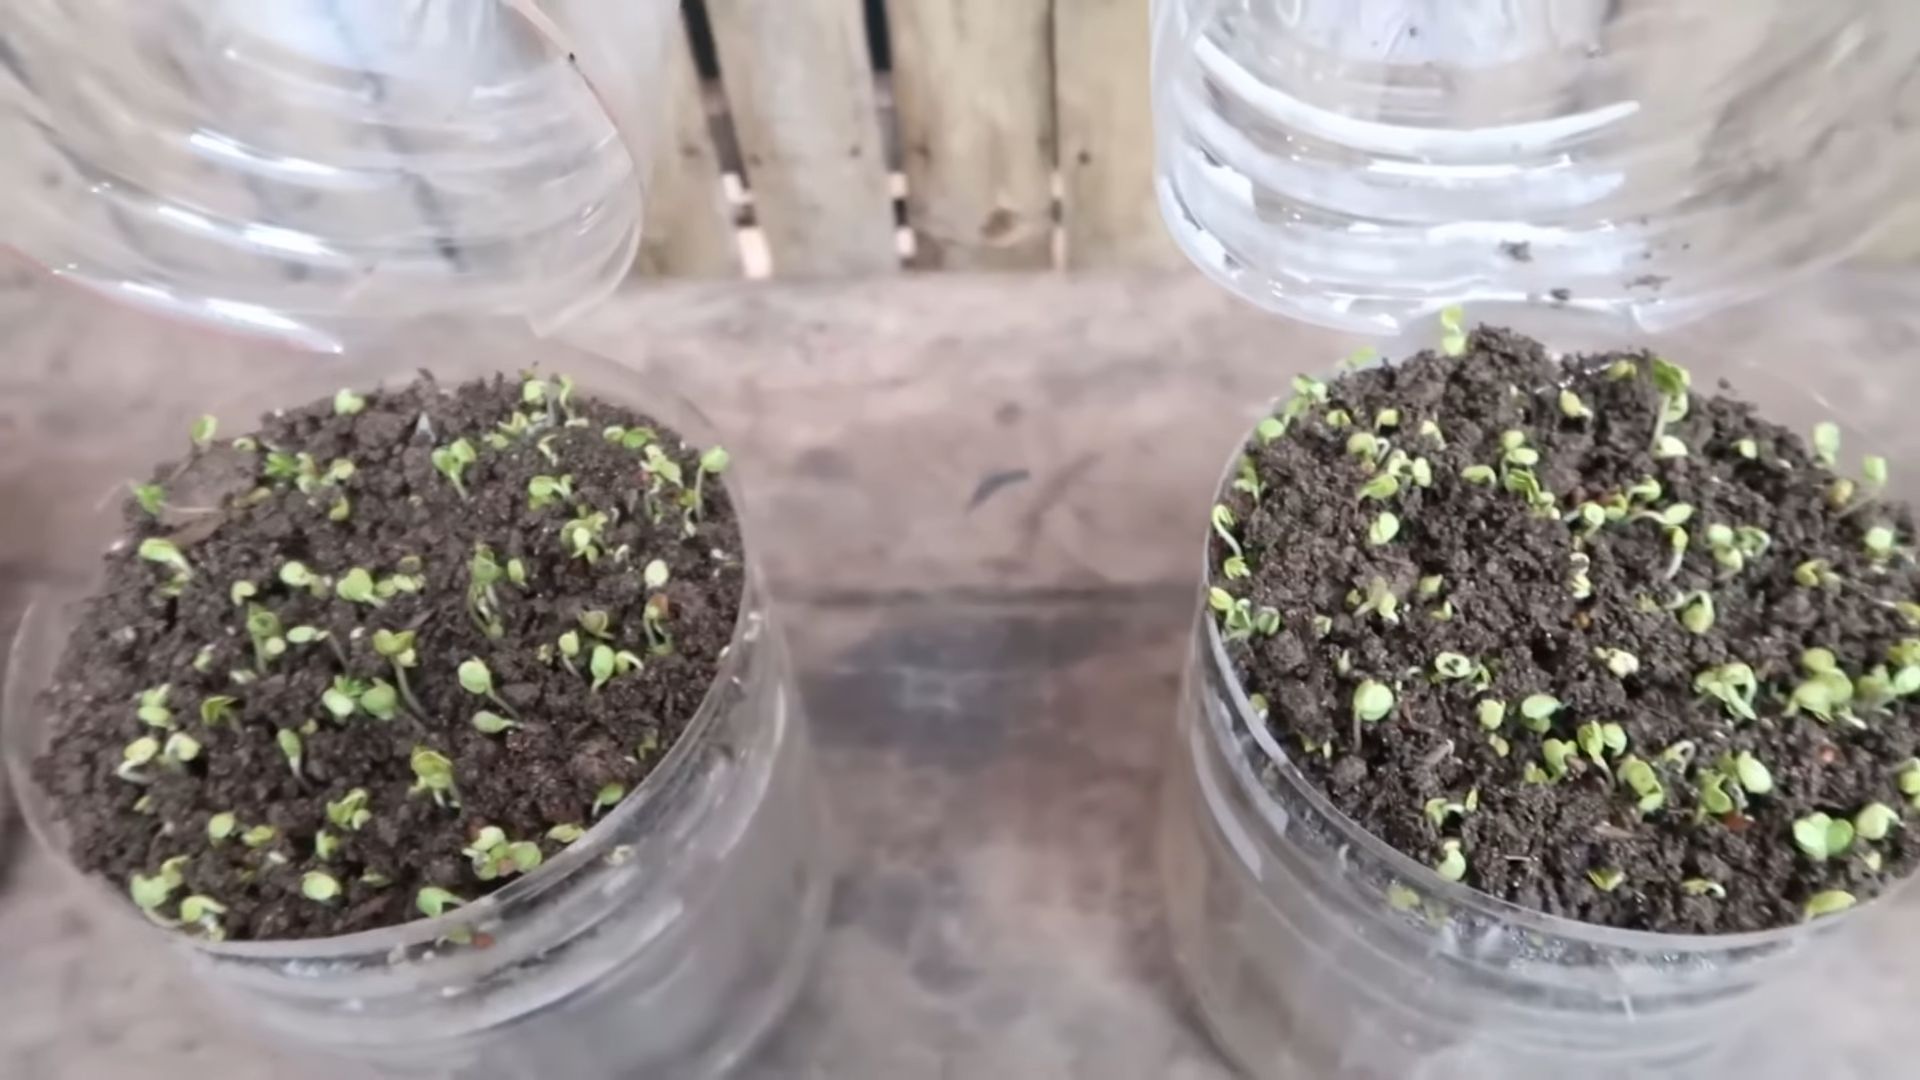
* Duration: The duration of the blackout period varies depending on the type of microgreen. Generally, it lasts for 2-4 days. You’ll know it’s time to remove the cover when you see the seeds have germinated and the seedlings are starting to push against the cover.
5. Introducing Light and Air Circulation
Once the seeds have germinated, it’s time to introduce light and air circulation.
* Remove the Cover: Carefully remove the cover from the growing tray.
* Provide Light: Place the growing tray in a location that receives bright, indirect sunlight. If you don’t have a sunny windowsill, use a grow light. Position the grow light a few inches above the microgreens.
* Air Circulation: If you’re growing your microgreens in a humid environment, use a small fan to improve air circulation. This will help prevent mold growth.
* Watering: Continue to mist the microgreens with water daily, or as needed, to keep the growing medium moist. Avoid overwatering, as this can also lead to mold growth. You can also add water to the bottom tray, allowing the microgreens to wick up the moisture from below.
6. Harvesting Your Microgreens
The moment you’ve been waiting for! Your microgreens are ready to harvest when they have developed their first set of true leaves (the leaves that appear after the cotyledons, or seed leaves). This usually takes about 7-14 days, depending on the type of microgreen.
* Harvesting Time: Use a sharp pair of scissors or a knife to cut the microgreens just above the growing medium.
* Washing (Optional): Gently wash the microgreens in cool water before using them.
* Storage: Store the harvested microgreens in a sealed container in the refrigerator for up to a week.
Troubleshooting Tips for Happy Microgreens
Even with the best intentions, sometimes things can go wrong. Here are a few common problems and how to fix them:
* Mold Growth: Mold is a common problem with microgreens, especially in humid environments. To prevent mold growth, ensure good air circulation, avoid overwatering, and consider adding a small amount of hydrogen peroxide (3%) to your water. If you see mold, remove the affected areas immediately.
* Stunted Growth: Stunted growth can be caused by a variety of factors, including lack of light, overwatering, or nutrient deficiencies. Make sure your microgreens are receiving enough light, avoid overwatering, and consider using a diluted nutrient solution if necessary.
* Uneven Germination: Uneven germination can be caused by uneven seed distribution or inconsistent moisture levels. Make sure you sow your seeds evenly and maintain consistent moisture levels throughout the germination process.
* Leggy Microgreens: Leggy microgreens are tall and spindly, often due to insufficient light. Provide more light to encourage stronger, more compact growth.
Experiment and Enjoy!
Growing microgreens is a fun and rewarding experience. Don’t be afraid to experiment with different types of seeds, growing mediums, and techniques to find
Conclusion
So, there you have it! A simple, effective, and incredibly rewarding way to cultivate your own vibrant microgreens, completely soil-free. This method isn’t just about saving money; it’s about connecting with the food you eat, understanding the growing process, and enjoying the unparalleled freshness of homegrown produce, even if you don’t have a garden. The beauty of this **soil free microgreens setup** lies in its accessibility. Anyone, regardless of their living situation or gardening experience, can successfully grow these nutrient-packed powerhouses.
Think about the possibilities! Imagine adding a burst of peppery radish microgreens to your morning avocado toast, sprinkling delicate sunflower shoots over a hearty salad, or garnishing a gourmet dish with the vibrant colors of a mixed microgreen blend. The flavor profiles are diverse and exciting, and the nutritional benefits are undeniable. You’re not just adding a garnish; you’re adding a concentrated dose of vitamins, minerals, and antioxidants to your diet.
But the real magic happens when you start experimenting. Try different types of seeds – broccoli, kale, peas, mustard, cilantro – the options are virtually limitless. Adjust the lighting to see how it affects growth rate and flavor. Play around with different sprouting trays and containers to find what works best for your space. Consider adding a diluted nutrient solution after the initial sprouting phase to boost growth and yield. You could even explore using different types of growing mediums, like coconut coir or hemp mats, for a slightly different texture and moisture retention.
This DIY approach also fosters a deeper appreciation for sustainability. By growing your own microgreens, you’re reducing your reliance on commercially produced greens, which often travel long distances and require significant resources. You’re minimizing packaging waste and contributing to a more environmentally friendly food system. Plus, it’s incredibly satisfying to watch these tiny plants spring to life, knowing that you played a direct role in their growth.
Don’t be intimidated by the idea of growing your own food. This soil-free method is incredibly forgiving and easy to master. With a little patience and attention, you’ll be harvesting your own delicious and nutritious microgreens in no time.
We wholeheartedly encourage you to give this DIY soil-free microgreens setup a try. It’s a fun, educational, and rewarding experience that will transform the way you think about food. And most importantly, we want to hear about your journey! Share your successes, your challenges, and your creative variations in the comments below. Let’s build a community of microgreen enthusiasts and inspire others to embrace the joy of homegrown goodness. What are you waiting for? Get growing!
Frequently Asked Questions (FAQ)
What exactly are microgreens, and why should I grow them?
Microgreens are young vegetable greens that are typically harvested 7-14 days after germination, when the first true leaves have emerged. They are essentially baby versions of mature vegetables and herbs, packed with intense flavor and a significantly higher concentration of nutrients compared to their fully grown counterparts. Growing them yourself ensures freshness, allows you to control the growing environment (avoiding pesticides and herbicides), and provides a sustainable source of healthy food. Plus, they’re incredibly versatile in the kitchen!
What kind of seeds can I use for a soil-free microgreens setup?
The possibilities are endless! Some popular and easy-to-grow options include:
* **Brassicas:** Broccoli, kale, radish, cabbage, mustard
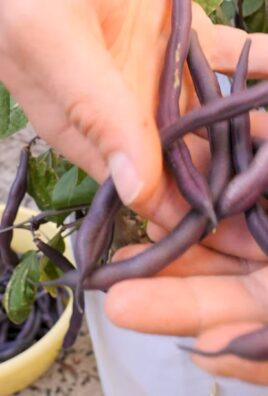
* **Legumes:** Peas, lentils, chickpeas
* **Leafy Greens:** Arugula, spinach, lettuce
* **Herbs:** Cilantro, basil, dill
* **Other:** Sunflower, buckwheat, amaranth
Avoid using seeds that are treated with fungicides or other chemicals. Look for seeds specifically labeled for sprouting or microgreens.
What kind of container should I use for my soil-free microgreens?
Shallow trays with drainage holes are ideal. You can use dedicated sprouting trays, repurposed plastic containers (like takeout containers), or even baking sheets lined with a non-porous material. The key is to ensure good drainage to prevent mold and rot. A two-tray system, where one tray sits inside the other, is also helpful for bottom watering.
How much light do my microgreens need?
Microgreens need adequate light to thrive. Indirect sunlight is sufficient for some varieties, but most will benefit from supplemental lighting, especially if you’re growing indoors. LED grow lights are energy-efficient and provide the optimal spectrum for plant growth. Aim for 12-16 hours of light per day.
How often should I water my soil-free microgreens?
Watering frequency depends on the humidity and temperature of your environment. Generally, you’ll need to mist or water your microgreens 1-2 times per day to keep the growing medium consistently moist but not soggy. Bottom watering is a great option to prevent overwatering and fungal issues.
How do I prevent mold and mildew in my soil-free microgreens setup?
Good airflow is crucial for preventing mold and mildew. Ensure adequate ventilation in your growing area. Avoid overcrowding the seeds, as this can restrict airflow. Use clean water and clean containers. If you notice any mold, remove the affected area immediately and increase airflow. A diluted hydrogen peroxide solution (1 part hydrogen peroxide to 10 parts water) can also be used to treat mold.
When are my microgreens ready to harvest?
Microgreens are typically ready to harvest when the first true leaves have fully emerged. This usually takes 7-14 days, depending on the variety and growing conditions. The leaves should be vibrant in color and have a well-developed flavor.
How do I harvest my microgreens?
Use sharp scissors or a knife to cut the microgreens just above the growing medium. Wash them gently before using.
How long will my harvested microgreens last?
Harvested microgreens are best consumed immediately for optimal flavor and nutrition. However, they can be stored in the refrigerator for up to a week. Wrap them in a paper towel and place them in a sealed container.
Can I reuse the growing medium after harvesting my microgreens?
It’s generally not recommended to reuse the growing medium, as it can harbor bacteria and fungi. It’s best to start with fresh medium for each batch of microgreens.
What if my seeds don’t germinate?
Several factors can affect seed germination. Ensure that you’re using fresh, high-quality seeds. Check the temperature and humidity of your growing environment. Make sure the growing medium is consistently moist but not waterlogged. Some seeds may require a pre-soaking period to improve germination rates.
Can I grow microgreens outdoors using this soil-free method?
Yes, you can grow microgreens outdoors using this method, but you’ll need to protect them from direct sunlight, heavy rain, and extreme temperatures. A shaded patio or balcony is a good option.
Is this method suitable for growing microgreens commercially?
While this DIY method is great for home use, commercial microgreen growers often use more sophisticated systems that allow for greater efficiency and control. However, the basic principles remain the same.
What are the benefits of using a soil free microgreens setup?
The benefits are numerous! It’s cleaner, less messy, and reduces the risk of soilborne diseases. It’s also more space-efficient and allows for better control over the growing environment. Plus, it’s a great way to recycle materials and reduce waste.
Where can I find more information and inspiration for growing microgreens?
There are many online resources available, including websites, blogs, and YouTube channels dedicated to microgreen growing. Search for “microgreens growing guide” or “soil-free microgreens tutorial” to find a wealth of information. Don’t be afraid to experiment and learn from your own experiences!
Leave a Comment