
Sprouting Garlic in Plastic Bottles: Unlock a world of fresh, homegrown flavor right from your kitchen counter! Have you ever wished you could have a constant supply of fresh garlic greens without the hassle of a full-blown garden? Well, get ready to be amazed because this simple DIY trick will transform your kitchen into a mini garlic farm.
For centuries, garlic has been revered not only for its culinary prowess but also for its medicinal properties. From ancient Egypt, where it fueled the pyramid builders, to traditional Chinese medicine, garlic has held a prominent place in human history. Now, you can tap into that rich heritage by easily sprouting garlic in plastic bottles, bringing a touch of that ancient wisdom into your modern home.
Why should you bother with this clever hack? Because store-bought garlic greens often lack the vibrant flavor and freshness of homegrown ones. Plus, let’s be honest, who wants to keep running to the store every time a recipe calls for a sprinkle of garlicy goodness? This method is not only incredibly easy and cost-effective, but it’s also a fantastic way to recycle those plastic bottles cluttering your cupboards. I’m excited to show you how to enjoy fresh garlic greens year-round, adding a burst of flavor to your dishes and a touch of green to your living space. Let’s get started!

Sprouting Garlic in Plastic Bottles: A Gardener’s Guide
Hey there, fellow gardening enthusiasts! I’m so excited to share this super easy and rewarding DIY project with you: sprouting garlic in plastic bottles. It’s a fantastic way to recycle those bottles, get a head start on your garlic crop, and enjoy fresh garlic greens even before your main bulbs are ready. Trust me, once you try this, you’ll be hooked!
Why Sprout Garlic in Plastic Bottles?
Before we dive in, let’s talk about why this method is so great:
* Space-Saving: Perfect for small spaces, balconies, or even windowsills. You can stack or arrange the bottles easily.
* Early Harvest: You can harvest the delicious garlic greens (scapes) much earlier than if you planted directly in the ground.
* Recycling: A fantastic way to reuse plastic bottles and reduce waste.
* Easy Monitoring: You can easily see the root development and moisture levels.
* Fun Project: It’s a simple and satisfying project for gardeners of all levels, including kids!
Materials You’ll Need
Okay, let’s gather our supplies. Here’s what you’ll need:
* Plastic Bottles: Any size will work, but 2-liter bottles are ideal. You’ll need one bottle per garlic clove you want to sprout. Clear or translucent bottles are best so you can monitor root growth.
* Garlic Cloves: Choose organic garlic from a local farmer’s market or garden center. Avoid supermarket garlic, as it may be treated to prevent sprouting. Look for firm, healthy cloves with no signs of mold or damage.
* Potting Mix: A good quality potting mix is essential for healthy growth. Avoid using garden soil, as it can compact and hinder drainage.
* Water: Tap water is fine, but rainwater or filtered water is even better.
* Scissors or Utility Knife: For cutting the plastic bottles.
* Drill or Nail (Optional): For creating drainage holes.
* Spray Bottle (Optional): For misting the soil.
* Labels (Optional): To label the different garlic varieties you’re sprouting.
Step-by-Step Instructions
Alright, let’s get our hands dirty! Here’s the step-by-step guide to sprouting garlic in plastic bottles:
1. Preparing the Plastic Bottles
This is the first and crucial step. We need to transform those bottles into mini-planters.
1. Clean the Bottles: Thoroughly wash the plastic bottles with soap and water to remove any residue. Rinse them well and let them dry completely.
2. Cut the Bottles: Using scissors or a utility knife, carefully cut the bottle in half horizontally. You’ll be using the bottom half as your planter. I usually cut mine about 2/3 of the way up from the bottom.
3. Create Drainage Holes: This is super important! If your bottle doesn’t have drainage, the garlic will rot. Use a drill or a nail to create several drainage holes in the bottom of the bottle. I usually make about 4-5 holes.
4. Optional: Prepare the Top Half: You can keep the top half of the bottle to use as a mini-greenhouse later on, especially if you live in a colder climate. Just invert it over the bottom half.
2. Preparing the Garlic Cloves
Now, let’s get those garlic cloves ready for planting.
1. Select Healthy Cloves: Choose the largest and healthiest cloves from your garlic bulb. Avoid any cloves that are soft, discolored, or show signs of mold.
2. Gently Separate the Cloves: Carefully separate the cloves from the bulb, leaving the papery skin intact. Don’t peel the cloves! The skin protects them from drying out and rotting.
3. Optional: Soak the Cloves (Optional): Some gardeners like to soak the cloves in water for a few hours before planting to encourage sprouting. I sometimes do this, but it’s not essential.
3. Planting the Garlic Cloves
Time to put everything together!
1. Fill the Bottle with Potting Mix: Fill the bottom half of the plastic bottle with potting mix, leaving about an inch of space at the top.
2. Plant the Garlic Clove: Make a small hole in the center of the potting mix, about 1-2 inches deep. Place the garlic clove in the hole, pointy side up (this is where the green shoot will emerge).
3. Cover the Clove: Gently cover the clove with potting mix, and lightly pat it down.
4. Water Thoroughly: Water the potting mix thoroughly until water drains out of the drainage holes. This helps settle the soil and provides moisture for the clove to start sprouting.
4. Caring for Your Sprouting Garlic
Now comes the waiting game, but don’t worry, it’s not too long!
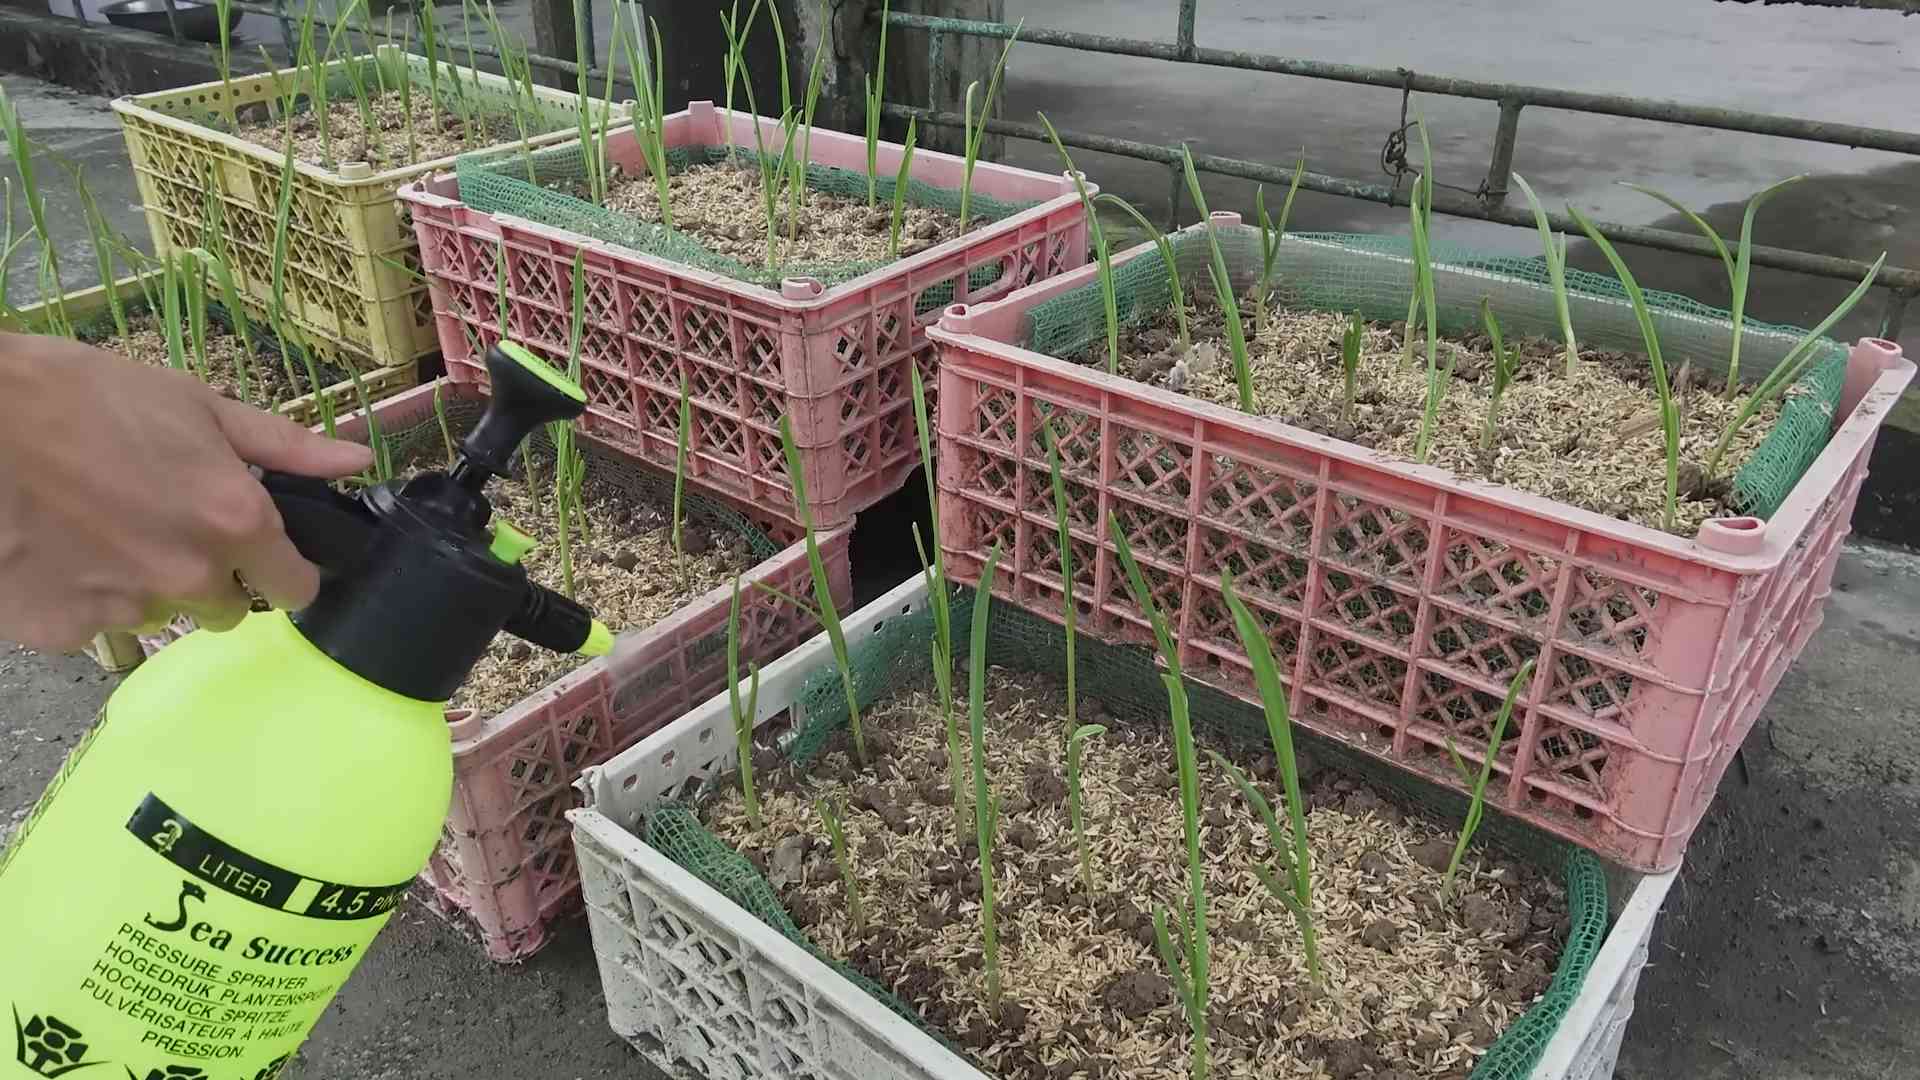
1. Place in a Sunny Location: Place the plastic bottles in a sunny location, such as a windowsill, balcony, or patio. Garlic needs at least 6 hours of sunlight per day to thrive.
2. Water Regularly: Keep the potting mix consistently moist, but not soggy. Water when the top inch of soil feels dry to the touch. Avoid overwatering, as this can lead to root rot.
3. Monitor Growth: Keep an eye on your garlic cloves. You should start to see green shoots emerging within a week or two.
4. Fertilize (Optional): Once the shoots are a few inches tall, you can start fertilizing with a diluted liquid fertilizer every few weeks. This will provide the garlic with the nutrients it needs to grow strong and healthy. I like to use a balanced organic fertilizer.
5. Rotate the Bottles: If you’re growing your garlic on a windowsill, rotate the bottles regularly to ensure even growth. This will prevent the plants from leaning towards the light.
5. Harvesting Garlic Greens (Scapes)
This is the fun part!
1. Harvest When Ready: You can start harvesting the garlic greens (scapes) when they are about 6-8 inches tall.
2. Cut the Greens: Use scissors to cut the greens near the base of the plant. Be careful not to damage the bulb.
3. Enjoy Your Harvest: The garlic greens have a mild garlic flavor and can be used in salads, soups, stir-fries, or as a garnish.
Troubleshooting
Sometimes things don’t go exactly as planned. Here are a few common issues and how to fix them:
* No Sprouting: If your garlic cloves don’t sprout after a few weeks, they may be old or damaged. Try planting fresh cloves. Also, make sure the soil is moist and the bottles are in a sunny location.
* Yellowing Leaves: Yellowing leaves can be a sign of overwatering or underwatering. Check the soil moisture and adjust your watering accordingly. It could also be a sign of nutrient deficiency, so try fertilizing with a diluted liquid fertilizer.
* Root Rot: Root rot is caused by overwatering and poor drainage. Make sure your bottles have adequate drainage holes and avoid overwatering. If you suspect root rot, you can try transplanting the garlic clove into fresh potting mix.
* Pests: Garlic is generally pest-resistant, but occasionally you may encounter aphids or other pests. You can control pests by spraying the plants with insecticidal soap or neem oil.
Taking it to the Next Level
Want to really impress your gardening friends? Here are a few advanced tips:
* Succession Planting: Plant garlic cloves every few weeks to ensure a continuous supply of garlic greens.
* Different Varieties: Experiment with different varieties of garlic to find your favorites.
* Winter Growing: In mild climates, you can grow garlic outdoors in plastic bottles throughout the winter.
* Transplanting: Once the weather warms up, you can transplant the sprouted garlic cloves into the garden to grow full-sized bulbs. Just be careful not to damage the roots when transplanting.
Final Thoughts
Sprouting garlic in plastic bottles is a simple, fun, and rewarding project that anyone can do. It’s a great way to recycle, save space, and enjoy fresh garlic greens. So, grab some plastic bottles, garlic cloves, and potting mix, and get started today! Happy gardening!
Conclusion
So, there you have it! Sprouting garlic in plastic bottles is not just a quirky gardening experiment; it’s a game-changer for anyone who loves fresh garlic and wants a sustainable, space-saving way to grow it. We’ve walked you through the simple steps, highlighting how easy it is to transform discarded plastic bottles into mini garlic farms.
Why is this DIY trick a must-try? Because it offers a multitude of benefits. First and foremost, you get a continuous supply of fresh, flavorful garlic greens right at your fingertips. Imagine adding a vibrant, garlicky punch to your salads, stir-fries, or soups, all from garlic you’ve grown yourself. Secondly, it’s incredibly eco-friendly. You’re repurposing plastic bottles that would otherwise end up in landfills, contributing to a more sustainable lifestyle. Thirdly, it’s space-efficient. Whether you have a sprawling garden or a tiny balcony, these bottle gardens can thrive virtually anywhere. Finally, it’s a fantastic way to connect with nature and experience the joy of growing your own food, even on a small scale.
But the beauty of this method lies in its adaptability. Feel free to experiment with different types of garlic. While hardneck varieties are often recommended for their robust flavor and larger cloves, softneck varieties can also be successfully sprouted in bottles. You can also play around with the growing medium. While we suggested a mix of potting soil and compost, you could also try using coco coir or a soilless mix. Just ensure that the medium is well-draining to prevent root rot.
Consider adding companion plants to your bottle gardens. Herbs like chives or parsley can thrive alongside your garlic, creating a miniature ecosystem. You can also experiment with different bottle sizes and configurations. Try stacking multiple bottles to create a vertical garden or using larger bottles to grow more garlic per container.
The key to success is consistent watering and adequate sunlight. Keep the soil consistently moist, but not waterlogged, and ensure that your bottle gardens receive at least six hours of sunlight per day. If you live in a colder climate, you may need to bring your bottle gardens indoors during the winter months.
We are confident that you’ll find this DIY garlic sprouting method rewarding and enjoyable. It’s a simple, sustainable, and satisfying way to grow your own fresh garlic greens. So, gather your plastic bottles, grab some garlic cloves, and get ready to embark on a fun and flavorful gardening adventure.
Don’t just take our word for it! We encourage you to try this DIY trick and share your experiences with us. Post photos of your bottle gardens on social media using #BottleGarlic and let us know how it goes. We’re eager to see your creations and learn from your experiences. Happy sprouting! This method of sprouting garlic is a great way to reduce waste and enjoy fresh herbs.
Frequently Asked Questions (FAQ)
What kind of garlic is best for sprouting in bottles?
While both hardneck and softneck garlic varieties can be sprouted in bottles, hardneck varieties are generally preferred. Hardneck garlic tends to have a more robust flavor and produces larger cloves, which can result in more substantial garlic greens. However, softneck varieties can also be successfully sprouted, especially if you’re looking for a milder flavor. Experiment with different varieties to see which one you prefer.
How long does it take for garlic to sprout in bottles?
The time it takes for garlic to sprout in bottles can vary depending on several factors, including the variety of garlic, the temperature, and the amount of sunlight. Generally, you can expect to see sprouts emerge within 1-2 weeks. However, it may take longer in cooler temperatures or if the garlic cloves are not fresh. Be patient and continue to water the soil regularly.
How often should I water my garlic sprouts in bottles?
Water your garlic sprouts regularly, keeping the soil consistently moist but not waterlogged. The frequency of watering will depend on the climate and the type of soil you’re using. In general, you should water every 2-3 days, or more often if the soil feels dry to the touch. Avoid overwatering, as this can lead to root rot.
What kind of soil should I use for sprouting garlic in bottles?
A well-draining potting mix is essential for sprouting garlic in bottles. A mixture of potting soil and compost is a good option, as it provides both nutrients and drainage. You can also use coco coir or a soilless mix. Avoid using heavy clay soil, as it can retain too much moisture and lead to root rot.
How much sunlight do garlic sprouts need?
Garlic sprouts need at least six hours of sunlight per day to thrive. Place your bottle gardens in a sunny location, such as a windowsill or a balcony. If you don’t have access to enough natural sunlight, you can supplement with artificial grow lights.
Can I use tap water to water my garlic sprouts?
Yes, you can use tap water to water your garlic sprouts, but it’s best to let the water sit for 24 hours before using it. This allows the chlorine to evaporate, which can be harmful to plants. Alternatively, you can use rainwater or filtered water.
How do I harvest garlic greens from my bottle garden?
You can harvest garlic greens from your bottle garden as soon as they are a few inches tall. Simply snip off the greens with scissors, leaving about an inch of the plant intact. This will allow the plant to continue growing and producing more greens.
Can I grow garlic bulbs in plastic bottles?
While it’s possible to grow garlic bulbs in plastic bottles, it’s not the ideal method. Garlic bulbs require more space and nutrients than garlic greens. If you want to grow garlic bulbs, it’s best to plant them in the ground or in larger containers.
What if my garlic sprouts are turning yellow?
Yellowing garlic sprouts can be a sign of several problems, including overwatering, underwatering, nutrient deficiency, or disease. Check the soil moisture and adjust your watering accordingly. If the soil is consistently wet, reduce the frequency of watering. If the soil is dry, water more often. You can also try fertilizing your garlic sprouts with a balanced liquid fertilizer. If the problem persists, it could be a sign of disease, in which case you may need to treat your plants with a fungicide.
Is sprouting garlic in plastic bottles safe?
Yes, sprouting garlic in plastic bottles is generally safe, as long as you use food-grade plastic bottles. Avoid using bottles that have been used to store chemicals or other harmful substances. It’s also important to clean the bottles thoroughly before using them.
Can I reuse the soil in my bottle garden?
You can reuse the soil in your bottle garden, but it’s best to amend it with fresh compost or fertilizer before replanting. Over time, the soil can become depleted of nutrients, which can affect the growth of your garlic sprouts.
What are the benefits of eating garlic greens?
Garlic greens are a nutritious and flavorful addition to any diet. They are rich in vitamins, minerals, and antioxidants. They also have antibacterial and antiviral properties. Garlic greens can be used in a variety of dishes, including salads, stir-fries, soups, and sauces.
How do I prevent pests from attacking my garlic sprouts?
To prevent pests from attacking your garlic sprouts, keep your bottle gardens clean and free of debris. You can also try using natural pest control methods, such as neem oil or insecticidal soap. If you notice any pests, remove them by hand or spray them with a natural insecticide.
Can I grow other vegetables in plastic bottles?
Yes, you can grow a variety of other vegetables in plastic bottles, including herbs, lettuce, spinach, and tomatoes. The key is to choose vegetables that are well-suited to container gardening and to provide them with adequate sunlight, water, and nutrients.
What do I do with the plastic bottle after I’m done sprouting garlic?
Once you are done sprouting garlic, you can clean the plastic bottle and reuse it for another gardening project. Alternatively, you can recycle the bottle or dispose of it properly. Consider cutting the bottle into smaller pieces and using it as drainage material in other pots.

Leave a Comment