
Vinegar cleaning tricks – who knew something so simple could be so powerful? I’m always on the lookout for ways to simplify my life and keep my home sparkling without resorting to harsh chemicals. That’s why I’m so excited to share some amazing DIY cleaning hacks using good old vinegar!
Vinegar has been a cleaning staple for centuries. In ancient civilizations, it was used not only for cooking and preserving food but also for its antiseptic and cleaning properties. Think about it – our grandmothers and great-grandmothers relied on vinegar long before fancy cleaning products lined store shelves. They knew the secret, and now I’m going to let you in on it too!
Let’s face it, cleaning can be a chore, and store-bought cleaners can be expensive and full of ingredients we can’t even pronounce. But what if I told you that you could tackle most household cleaning tasks with just a bottle of vinegar and a few other common items? These vinegar cleaning tricks are not only budget-friendly but also eco-friendly, making them a win-win for your home and the planet. From sparkling windows to deodorizing drains, I’m going to show you how to harness the power of vinegar to create a cleaner, healthier, and happier home. Get ready to ditch the chemicals and embrace the simplicity of vinegar!

DIY Vinegar Cleaning Powerhouse: Unleash the Cleaning Potential of This Kitchen Staple!
Hey there, fellow cleaning enthusiasts! I’m about to let you in on a little secret (well, not really a secret, but a seriously effective cleaning hack): vinegar! Yes, that humble bottle of vinegar sitting in your pantry is a cleaning superhero in disguise. Forget those expensive, chemical-laden cleaners – vinegar is natural, affordable, and incredibly versatile. I’m going to walk you through some of my favorite ways to use vinegar to tackle common household cleaning challenges. Get ready to be amazed!
General Vinegar Cleaning Tips:
Before we dive into specific projects, let’s cover some essential vinegar basics:
* Dilution is Key: Always dilute vinegar with water. A 50/50 solution is generally safe for most surfaces, but for delicate materials, start with a weaker solution (e.g., 1 part vinegar to 2 parts water).
* Test First: Before applying vinegar to any surface, test it in an inconspicuous area to ensure it doesn’t cause discoloration or damage. This is especially important for natural stone, waxed wood, and certain fabrics.
* White Distilled Vinegar is Your Best Friend: While other types of vinegar exist, white distilled vinegar is the cleaning champion. It’s clear, inexpensive, and has a consistent acidity level.
* Ventilation is Important: Vinegar has a strong odor, so make sure to open windows or turn on a fan while cleaning. The smell dissipates quickly, but good ventilation will make the process more pleasant.
* Don’t Mix with Bleach: This is crucial! Mixing vinegar with bleach creates toxic chlorine gas, which is extremely dangerous. Never, ever combine these two cleaning agents.
Cleaning Your Microwave with Vinegar: Steam Cleaning Magic!
Microwaves can get pretty gross, pretty fast. Splatters, spills, and lingering odors are no match for this simple vinegar steam cleaning trick.
1. Prepare Your Solution: In a microwave-safe bowl, combine 1 cup of water and 2 tablespoons of white distilled vinegar.
2. Microwave Away: Place the bowl in the microwave and heat on high for 5-7 minutes, or until the solution is boiling and the microwave is filled with steam.
3. Let it Sit: Don’t open the microwave immediately! Let the steam work its magic for another 5-10 minutes. This will loosen the grime and make it easier to wipe away.
4. Wipe it Clean: Carefully remove the bowl (it will be hot!). Use a clean cloth or sponge to wipe down the interior of the microwave. The loosened food particles should come off easily. For stubborn spots, dip your cloth in the vinegar solution and scrub gently.
5. Clean the Turntable: Remove the turntable and wash it with warm, soapy water. Rinse thoroughly and dry before replacing it.
De-Scaling Your Kettle with Vinegar: Goodbye Mineral Buildup!
Hard water can leave unsightly mineral deposits (scale) inside your kettle, affecting its performance and even the taste of your tea or coffee. Vinegar to the rescue!
1. Fill the Kettle: Fill your kettle with a 50/50 solution of white distilled vinegar and water. Make sure the solution covers all the areas with scale buildup.
2. Boil the Solution: Bring the vinegar solution to a boil.
3. Let it Soak: Once boiling, turn off the kettle and let the solution sit for at least 30 minutes, or even longer for heavy scale buildup (I sometimes let it sit overnight).
4. Rinse Thoroughly: Pour out the vinegar solution and rinse the kettle several times with fresh water until the vinegar smell is gone.
5. Boil with Fresh Water: To ensure all traces of vinegar are removed, fill the kettle with fresh water and boil it. Discard the water. Repeat this process one or two more times.
Cleaning Your Showerhead with Vinegar: Restore Water Pressure!
Mineral deposits can clog your showerhead, reducing water pressure and creating an uneven spray. A vinegar soak can dissolve those deposits and restore your showerhead to its former glory.
1. Choose Your Method: You have two options here:
* Option 1 (Bag Method): Fill a plastic bag (a Ziploc bag works well) with white distilled vinegar. Secure the bag around the showerhead with a rubber band or twist tie, ensuring the showerhead is fully submerged in the vinegar.
* Option 2 (Removal Method): If your showerhead is easily removable, detach it from the shower arm. Place the showerhead in a bowl or container filled with white distilled vinegar.
2. Soak Overnight: Let the showerhead soak in the vinegar overnight (at least 8 hours). This will give the vinegar ample time to dissolve the mineral deposits.
3. Remove and Rinse: Remove the bag or showerhead from the vinegar. If you used the bag method, carefully remove the bag and discard the vinegar.
4. Scrub Away Residue: Use an old toothbrush or a small brush to scrub away any remaining mineral deposits from the showerhead’s nozzles.
5. Flush the Showerhead: Reattach the showerhead (if you removed it) and run the shower for a few minutes to flush out any remaining vinegar and loosened debris.
Cleaning Your Coffee Maker with Vinegar: Keep Your Brew Tasting Fresh!
Just like kettles, coffee makers can accumulate mineral deposits that affect the taste of your coffee. Regular vinegar cleaning will keep your coffee maker running smoothly and your coffee tasting its best.
1. Prepare the Solution: Fill the water reservoir of your coffee maker with a 50/50 solution of white distilled vinegar and water.
2. Run a Brewing Cycle: Turn on your coffee maker and run a full brewing cycle.
3. Let it Sit (Optional): After the brewing cycle is complete, let the vinegar solution sit in the coffee maker for about 30 minutes to further dissolve mineral deposits.
4. Rinse with Water: Empty the carafe and fill the water reservoir with fresh water. Run two or three brewing cycles with fresh water to rinse away any remaining vinegar.
5. Clean the Carafe: Wash the carafe with warm, soapy water. Rinse thoroughly and dry.
Cleaning Windows and Mirrors with Vinegar: Streak-Free Shine!
Forget expensive window cleaners! Vinegar is a fantastic, natural alternative for achieving streak-free shine on your windows and mirrors.
1. Prepare Your Solution: In a spray bottle, combine 1 part white distilled vinegar and 10 parts water. You can also add a few drops of your favorite essential oil (like lemon or lavender) to mask the vinegar smell.
2. Spray and Wipe: Spray the vinegar solution onto the window or mirror. Use a clean microfiber cloth to wipe the surface in a circular motion.
3. Buff to a Shine: Use a dry, clean microfiber cloth to buff the surface to a streak-free shine.
Unclogging Drains with Vinegar and Baking Soda: A Natural Drain Cleaner!
This is a classic DIY drain cleaner that’s effective for minor clogs.
1. Pour in Baking Soda: Pour about 1/2 cup of baking soda down the drain.
2. Add Vinegar: Follow with 1 cup of white distilled vinegar.
3. Let it Fizz: The mixture will fizz and bubble. Let it sit for about 30 minutes.
4. Flush with Hot Water: After 30 minutes, flush the drain with hot water for several minutes.
5. Repeat if Necessary: If the drain is still clogged, repeat the process. For stubborn clogs, you may need to use a plunger or call a plumber.
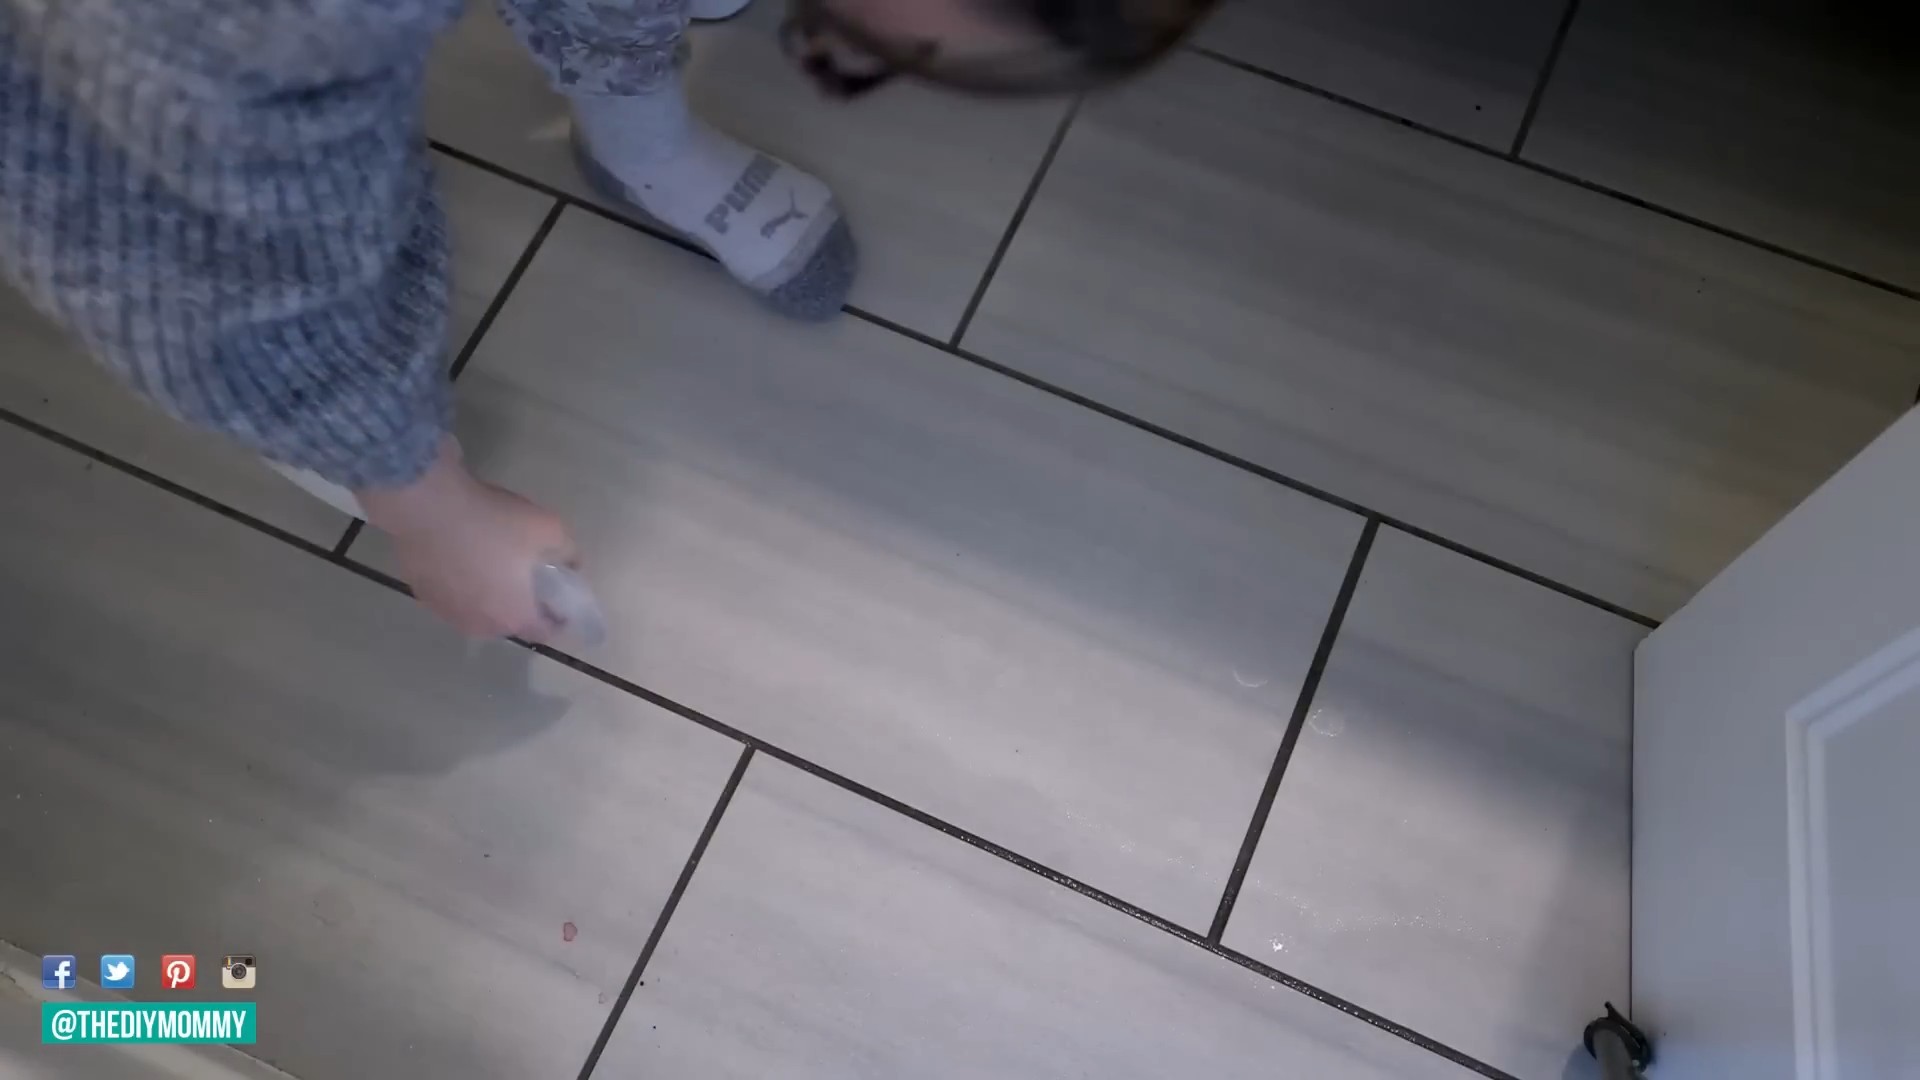
Removing Hard Water Stains with Vinegar: Say Goodbye to Stubborn Spots!
Hard water stains can be a real pain, especially in bathrooms and kitchens. Vinegar’s acidity helps dissolve those stubborn mineral deposits.
1. Identify the Stains: Locate the areas with hard water stains (faucets, shower doors, sinks, etc.).
2. Apply Vinegar:
* For Faucets and Fixtures: Soak a cloth or paper towel in white distilled vinegar and wrap it around the affected area. Let it sit for at least 30 minutes, or even longer for heavy buildup.
* For Shower Doors and Walls: Spray the affected area with a 50/50 solution of white distilled vinegar and water. Let it sit for 10-15 minutes.
3. Scrub and Rinse: Use a scrub brush or sponge to scrub away the loosened mineral deposits. Rinse thoroughly with water.
4. Dry and Polish: Dry the surface with a clean cloth to prevent water spots.
Cleaning Your Dishwasher with Vinegar: Freshen Up Your Appliance!
Your dishwasher works hard to keep your dishes clean, but it can also accumulate food particles, grease, and mineral deposits. A vinegar cleaning
Conclusion
So, there you have it! Mastering these vinegar cleaning tricks is more than just a way to save money; it’s a step towards a more sustainable and healthier home. We’ve explored how this humble pantry staple can tackle everything from stubborn hard water stains to lingering odors, all without the harsh chemicals found in many commercial cleaners. The versatility of vinegar is truly remarkable, and its effectiveness is undeniable.
Why is this a must-try? Because it’s simple, effective, and eco-friendly. You’re likely already have a bottle of vinegar in your pantry, making it an incredibly accessible cleaning solution. You’ll be amazed at how easily it cuts through grease, grime, and buildup, leaving your surfaces sparkling clean. Plus, by reducing your reliance on chemical-laden cleaners, you’re creating a safer environment for yourself, your family, and your pets.
But don’t stop there! Experiment with different types of vinegar. While white distilled vinegar is the workhorse of the cleaning world, apple cider vinegar can add a pleasant scent to your cleaning routine. Infuse your vinegar with citrus peels or herbs for an even more customized cleaning experience. For example, soaking lemon peels in vinegar for a week creates a potent citrus-infused cleaner perfect for tackling soap scum in the bathroom. You can also add a few drops of your favorite essential oils, like lavender or tea tree, for added fragrance and antibacterial properties.
Consider using vinegar to freshen up your laundry. A cup of vinegar added to the rinse cycle can help remove detergent residue, soften fabrics, and eliminate odors. It’s a fantastic alternative to harsh fabric softeners. You can also use a vinegar solution to clean your washing machine itself, preventing mold and mildew buildup.
The possibilities are endless!
We’re confident that once you try these vinegar cleaning tricks, you’ll be hooked. You’ll wonder how you ever cleaned without it! It’s a game-changer for anyone looking for a natural, affordable, and effective way to keep their home sparkling.
Now, it’s your turn. We encourage you to put these tips to the test and discover the power of vinegar for yourself. Share your experiences with us! Let us know which tricks worked best for you, any variations you tried, and any surprising results you achieved. Your feedback will not only help us improve our recommendations but also inspire others to embrace the magic of vinegar cleaning.
So, grab that bottle of vinegar, roll up your sleeves, and get ready to experience the cleaning power of nature. We can’t wait to hear about your success stories! Let’s make our homes cleaner, greener, and healthier, one vinegar-powered cleaning session at a time. Embrace the simplicity and effectiveness of these vinegar cleaning tricks and transform your cleaning routine today!
Frequently Asked Questions (FAQ)
Is vinegar safe to use on all surfaces?
No, vinegar is not safe to use on all surfaces. Avoid using vinegar on natural stone surfaces like marble, granite, and limestone, as the acidity can etch and damage them. It’s also best to avoid using vinegar on waxed wood furniture, as it can strip the wax finish. Be cautious when using vinegar on electronics, and always dilute it properly before using it on painted surfaces. Always test a small, inconspicuous area first to ensure it doesn’t cause any damage or discoloration.
What type of vinegar is best for cleaning?
White distilled vinegar is generally considered the best type of vinegar for cleaning due to its high acidity and lack of color. It’s effective at killing bacteria, dissolving mineral deposits, and cutting through grease and grime. Apple cider vinegar can also be used for cleaning, but it may leave a slight odor and is not as potent as white distilled vinegar. Avoid using colored or flavored vinegars, as they may stain surfaces.
How do I dilute vinegar for cleaning?
The dilution ratio for vinegar depends on the cleaning task. For general cleaning, a 1:1 solution of vinegar and water is usually sufficient. For tougher stains or grime, you can use a stronger solution of vinegar, such as 2:1 or even undiluted vinegar. Always start with a diluted solution and increase the concentration as needed. Remember to test the solution on a small, inconspicuous area first to ensure it doesn’t damage the surface.
Can vinegar kill mold?
Yes, vinegar can kill mold, but it’s not as effective as bleach for certain types of mold. Vinegar is effective at killing common household molds, such as those found in bathrooms and kitchens. To kill mold with vinegar, spray the affected area with undiluted vinegar and let it sit for at least an hour before wiping it clean. For more stubborn mold growth, you may need to repeat the process or use a stronger cleaning solution. Always wear gloves and a mask when dealing with mold, and ensure proper ventilation in the area.
Does vinegar have a strong odor? How can I minimize it?
Yes, vinegar has a distinct odor that some people find unpleasant. The odor typically dissipates quickly after cleaning, but there are several ways to minimize it. You can add a few drops of essential oils, such as lavender, lemon, or tea tree, to your vinegar cleaning solution to mask the odor. You can also infuse your vinegar with citrus peels or herbs for a more pleasant scent. Ensure proper ventilation in the area while cleaning to help dissipate the odor.
Can I mix vinegar with other cleaning products?
It’s generally not recommended to mix vinegar with other cleaning products, especially bleach. Mixing vinegar with bleach can create toxic chlorine gas, which can be harmful to your health. Avoid mixing vinegar with ammonia, as it can create toxic fumes. It’s best to use vinegar on its own or with water and essential oils. If you’re unsure about mixing vinegar with a particular cleaning product, it’s always best to err on the side of caution and avoid it.
How can I use vinegar to clean my coffee maker?
Vinegar is an excellent way to clean your coffee maker and remove mineral buildup. To clean your coffee maker with vinegar, fill the water reservoir with a 1:1 solution of vinegar and water. Run the coffee maker through a full brewing cycle. Then, run the coffee maker through two or three cycles with fresh water to rinse away any remaining vinegar. This will help remove mineral deposits and improve the taste of your coffee.
Can vinegar be used to clean my dishwasher?
Yes, vinegar can be used to clean your dishwasher and remove food particles and mineral buildup. To clean your dishwasher with vinegar, place a cup of vinegar in a dishwasher-safe bowl on the top rack of the empty dishwasher. Run the dishwasher on a hot cycle. This will help remove food particles, grease, and mineral deposits, leaving your dishwasher clean and fresh. You can also pour a cup of vinegar into the bottom of the dishwasher and let it sit overnight before running a cycle.
How do I clean my microwave with vinegar?
Cleaning your microwave with vinegar is a simple and effective way to remove food splatters and odors. To clean your microwave with vinegar, combine 1 cup of water and 1/4 cup of vinegar in a microwave-safe bowl. Microwave the mixture on high for 5-10 minutes, or until the solution boils and the microwave is filled with steam. Carefully remove the bowl and wipe down the inside of the microwave with a clean cloth or sponge. The steam will loosen the food splatters, making them easy to wipe away.
What are some other creative uses for vinegar in cleaning?
Vinegar has many other creative uses in cleaning beyond the ones mentioned above. You can use vinegar to clean your windows and mirrors, remove hard water stains from showerheads and faucets, deodorize your garbage disposal, clean your toilet bowl, and even remove stickers and adhesive residue. The possibilities are endless! Experiment with different uses and discover the power of vinegar for yourself.


Leave a Comment