
Cleaning shortcuts save time, and let’s be honest, who doesn’t want more time? I know I do! We’re all juggling busy lives, and spending hours scrubbing and tidying isn’t exactly high on anyone’s list of fun activities. But what if I told you there were clever, easy-to-implement tricks that could drastically cut down on your cleaning time, leaving you with a sparkling home and more precious moments to enjoy?
Throughout history, people have sought ways to streamline household chores. From ancient Roman bathhouses designed for easy cleaning to the invention of the vacuum cleaner, the quest for efficient cleaning methods is a timeless pursuit. Our grandmothers had their own secret cleaning recipes, passed down through generations, often relying on natural ingredients and ingenious techniques.
In today’s fast-paced world, these cleaning shortcuts save time more than ever. We’re constantly bombarded with demands on our attention, and a clean and organized home can be a sanctuary, a place of calm amidst the chaos. But maintaining that sanctuary shouldn’t feel like a full-time job. That’s why I’m so excited to share these DIY cleaning hacks with you. They’re designed to be quick, effective, and often utilize items you already have in your home. Get ready to reclaim your weekends and say goodbye to endless hours of scrubbing!
DIY Cleaning Hack: Revive Your Grout with Baking Soda and Vinegar!
Hey there, fellow cleaning enthusiasts! Are you tired of staring at dingy, discolored grout lines in your bathroom or kitchen? I know I was! No matter how much I scrubbed, those stubborn stains just wouldn’t budge. That’s when I stumbled upon this amazing DIY grout cleaning hack using ingredients you probably already have in your pantry: baking soda and vinegar! Trust me, this method is a game-changer. It’s effective, affordable, and surprisingly satisfying to watch those stains disappear. Let’s get started!
What You’ll Need:
Before we dive in, let’s gather our supplies. Here’s a handy checklist:
* Baking Soda
* White Vinegar
* Spray Bottle
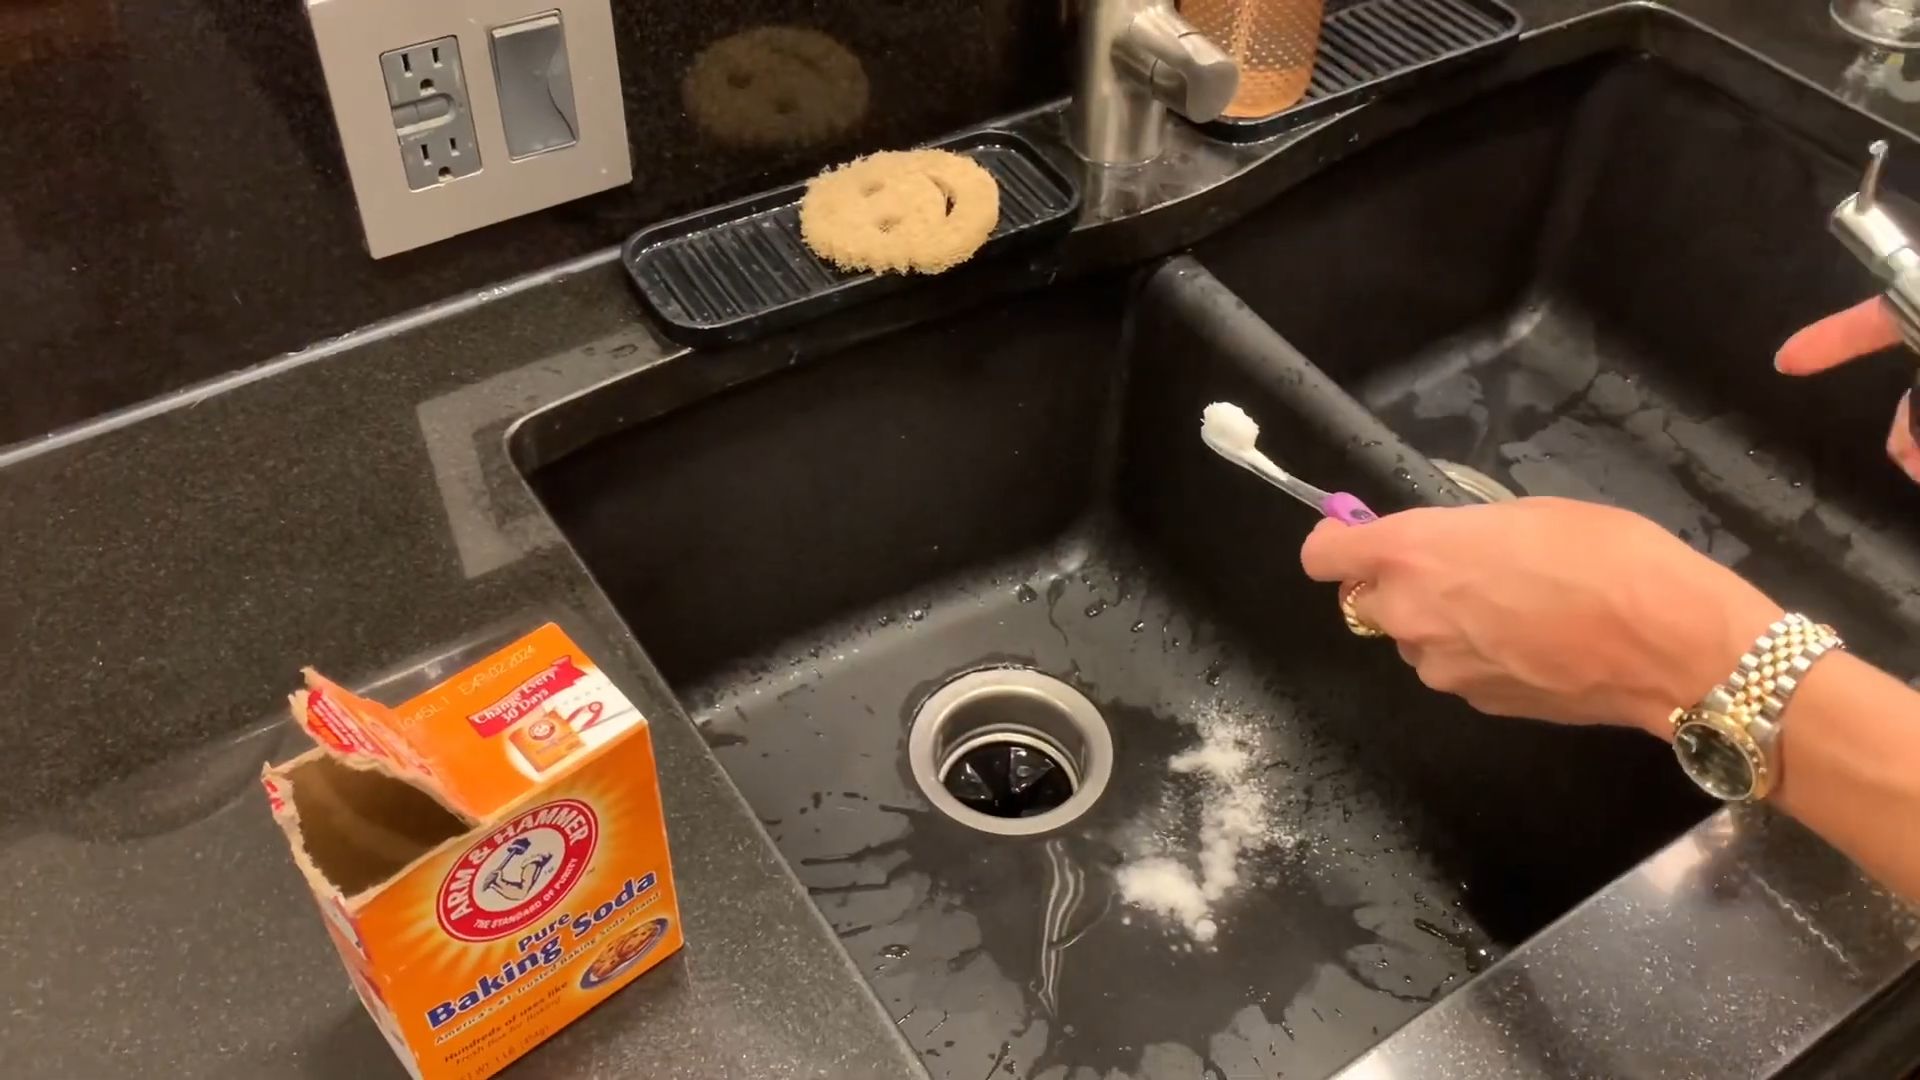
* Old Toothbrush (or a grout brush if you have one)
* Small Bowl or Cup
* Clean Water
* Paper Towels or a Clean Cloth
* Gloves (optional, but recommended to protect your hands)
* Eye protection (optional, but recommended to protect your eyes)
Step-by-Step Instructions:
Okay, now that we have everything we need, let’s get down to the nitty-gritty of cleaning that grout!
1. Prepare the Baking Soda Paste: In your small bowl or cup, mix baking soda with a little bit of water to form a thick paste. The consistency should be similar to toothpaste. You don’t want it too runny, or it won’t stick to the grout properly. I usually start with a few tablespoons of baking soda and add water a teaspoon at a time until I get the right consistency.
2. Apply the Baking Soda Paste: Using your fingers (with gloves on, of course!) or a small spoon, apply the baking soda paste generously to the grout lines you want to clean. Make sure you cover the entire area thoroughly. Don’t be shy – the more paste you apply, the better it will work. I like to really pack it in there to make sure it gets into all the nooks and crannies.
3. Let the Paste Sit: This is where the magic happens! Allow the baking soda paste to sit on the grout for at least 15-20 minutes. This gives the baking soda time to penetrate the stains and loosen the dirt and grime. For really tough stains, you can even let it sit for up to 30 minutes. I usually use this time to do other chores or relax with a cup of tea.
4. Prepare the Vinegar Spray: While the baking soda is working its magic, fill your spray bottle with white vinegar. You can use it straight from the bottle – no need to dilute it.
5. Spray the Vinegar: Now comes the fun part! After the baking soda has sat for the allotted time, spray the vinegar directly onto the baking soda-covered grout lines. You’ll notice a fizzing reaction – this is the baking soda and vinegar reacting, and it’s what helps to lift the stains. Don’t be alarmed by the fizzing; it’s perfectly normal and means the cleaning process is working!
6. Scrub the Grout: Using your old toothbrush or grout brush, scrub the grout lines vigorously. Focus on areas with stubborn stains. The fizzing action combined with the scrubbing will help to remove the dirt and grime. I find that using small, circular motions works best. Be patient and persistent, and you’ll start to see the stains disappear.
7. Rinse with Water: Once you’ve scrubbed all the grout lines, rinse the area thoroughly with clean water. You can use a sponge, a cloth, or even a spray bottle filled with water. Make sure you remove all traces of the baking soda and vinegar mixture.
8. Dry the Area: Finally, dry the area with paper towels or a clean cloth. This will help to prevent water spots and mildew growth.
9. Repeat if Necessary: For particularly stubborn stains, you may need to repeat the process. Don’t get discouraged if the grout isn’t perfectly clean after the first try. Just reapply the baking soda paste, spray with vinegar, scrub, and rinse.
Dealing with Stubborn Stains:
Sometimes, you’ll encounter grout stains that are extra stubborn and require a little more elbow grease. Here are a few tips for dealing with those tough spots:
* Make a Stronger Paste: For really tough stains, try making a paste with baking soda and hydrogen peroxide instead of water. Hydrogen peroxide has bleaching properties that can help to remove stubborn stains.
* Use a Grout Brush: A grout brush is specifically designed for cleaning grout lines and has stiffer bristles than a toothbrush. This can make scrubbing easier and more effective.
* Let it Sit Longer: If the stains are particularly stubborn, try letting the baking soda paste sit on the grout for a longer period of time, even overnight. Just make sure to cover the area with plastic wrap to prevent the paste from drying out.
* Steam Cleaning: If you have a steam cleaner, you can use it to blast away stubborn stains. The steam will help to loosen the dirt and grime, making it easier to scrub away.
Preventing Future Stains:
Once you’ve cleaned your grout, you’ll want to keep it looking its best. Here are a few tips for preventing future stains:
* Seal Your Grout: Sealing your grout will help to protect it from stains and moisture. You can purchase grout sealant at most hardware stores.
* Wipe Up Spills Immediately: The sooner you wipe up spills, the less likely they are to stain your grout.
* Ventilate Your Bathroom: Proper ventilation will help to prevent mildew growth, which can stain your grout.
* Clean Regularly: Regular cleaning will help to prevent dirt and grime from building up and staining your grout. I try to clean my grout at least once a month.
Safety Precautions:
While baking soda and vinegar are generally safe to use, it’s always a good idea to take a few safety precautions:
* Wear Gloves: Gloves will protect your hands from irritation.
* Protect Your Eyes: Wear eye protection to prevent vinegar from splashing into your eyes.
* Ventilate the Area: Make sure the area is well-ventilated to avoid inhaling fumes.
* Test in an Inconspicuous Area: Before cleaning your entire grout surface, test the baking soda and vinegar mixture in an inconspicuous area to make sure it doesn’t damage the grout or tile.
Why This Hack Works:
So, why does this baking soda and vinegar hack work so well? It’s all about the chemistry! Baking soda is a mild alkali, which means it can help to dissolve dirt, grease, and grime. Vinegar is a mild acid, which means it can help to dissolve mineral deposits and soap scum. When you combine baking soda and vinegar, they react to create carbon dioxide gas, which helps to lift the stains from the grout. The scrubbing action helps to further loosen the dirt and grime, leaving your grout clean and bright.
Alternative Cleaning Solutions:
While I swear by the baking soda and vinegar method, there are other options you can try if you’re not a fan of the smell of vinegar or if you have particularly stubborn stains. Here are a few alternatives:
* Commercial Grout Cleaners: There are many commercial grout cleaners available on the market. These cleaners are often more powerful than baking soda and vinegar, but they can also be more harsh and may contain chemicals that you don’t want to use. Always follow the manufacturer’s instructions carefully when using commercial grout cleaners.
* Oxygen Bleach: Oxygen bleach is a gentler alternative to chlorine bleach and can be effective at removing stains from grout. Mix oxygen bleach with water according to the manufacturer’s instructions and apply it to the grout lines. Let it sit for a few minutes, then scrub and rinse.
* Lemon Juice: Lemon juice is a natural acid that can help to dissolve mineral deposits and soap scum. Apply lemon juice to the grout lines, let it sit for a few minutes, then scrub and rinse.
* Steam Cleaning: As mentioned earlier, steam cleaning can be a very effective way to clean grout. The steam helps to loosen the dirt and grime, making it easier to scrub away.
My Personal Experience:
I’ve been using this baking soda and vinegar grout cleaning hack for years, and it’s never let me down. I’ve used it on the grout in my bathroom, kitchen, and even on the tile floors in my entryway. It’s amazing how much of a difference it makes! My grout looks so much cleaner and brighter after I use this method. Plus, it’s so satisfying to see those stubborn stains disappear. I highly recommend giving this hack a try – you won’t be disappointed!
So there you have it! My go-to DIY grout cleaning hack using baking soda and vinegar. It’s simple, effective, and affordable. Give it a try and let me know what you think! Happy cleaning!
Conclusion
So, there you have it! This simple yet effective DIY cleaning shortcut is a game-changer for anyone looking to reclaim their precious time and maintain a sparkling home. We’ve all been there, staring down a mountain of chores, wishing there was a magic wand to wave away the grime and dust. While we can’t promise actual magic, this method comes pretty darn close. The beauty of this cleaning shortcut lies in its simplicity and adaptability. It uses readily available ingredients, requires minimal effort, and delivers maximum results.
Think about it: no more spending hours scrubbing stubborn stains or battling endless dust bunnies. This method streamlines your cleaning routine, allowing you to focus on the things you truly enjoy. Imagine having more time for hobbies, family, or simply relaxing after a long day. That’s the power of a good cleaning shortcut.
But the benefits don’t stop there. This DIY approach is also incredibly budget-friendly. By using common household items, you’ll save money on expensive store-bought cleaners, many of which contain harsh chemicals that can be harmful to your health and the environment. This is a win-win situation for your wallet and your well-being.
Why is this DIY cleaning shortcut a must-try? Because it’s efficient, economical, and eco-conscious. It simplifies your cleaning routine, saves you time and money, and promotes a healthier living environment. What’s not to love?
Now, let’s talk about variations. While the basic recipe is incredibly effective, feel free to experiment and customize it to suit your specific needs and preferences. For example, if you’re dealing with particularly stubborn stains, you can add a bit of baking soda to the mixture for extra scrubbing power. Or, if you prefer a more fragrant cleaning solution, you can add a few drops of your favorite essential oil, such as lemon, lavender, or tea tree. Just be sure to test the solution on a small, inconspicuous area first to ensure it doesn’t damage the surface.
Another variation involves the application method. While a spray bottle is convenient for general cleaning, you can also use a microfiber cloth or sponge for more targeted cleaning. For example, if you’re cleaning a bathroom tile, a sponge might be more effective at reaching into grout lines.
Don’t be afraid to get creative and adapt this cleaning shortcut to your unique cleaning challenges. The possibilities are endless!
We are confident that once you try this DIY cleaning shortcut, you’ll wonder how you ever lived without it. It’s a true time-saver and a game-changer for anyone who wants to maintain a clean and healthy home without spending hours on end scrubbing and cleaning.
So, what are you waiting for? Gather your supplies, mix up a batch of this amazing cleaning solution, and experience the difference for yourself. We encourage you to try this DIY cleaning shortcut and share your experiences with us. Let us know what variations you’ve tried, what surfaces you’ve cleaned, and how much time you’ve saved. We’re always eager to hear from our readers and learn from their experiences. Share your tips and tricks in the comments below, and let’s create a community of cleaning enthusiasts who are passionate about saving time and maintaining a sparkling home. Happy cleaning!
Frequently Asked Questions (FAQ)
Q: What exactly is the “cleaning shortcut” you’re referring to?
A: The cleaning shortcut we’ve been discussing involves using a simple, homemade cleaning solution made from readily available household ingredients. While the specific recipe can vary depending on the cleaning task, it generally includes ingredients like vinegar, baking soda, dish soap, and water. The key is to combine these ingredients in a way that effectively tackles dirt, grime, and stains without requiring harsh chemicals or excessive scrubbing. The exact recipe will depend on the specific cleaning task.
Q: Is this DIY cleaning solution safe to use on all surfaces?
A: While this DIY cleaning solution is generally safe for most surfaces, it’s always a good idea to test it on a small, inconspicuous area first, especially on delicate or sensitive materials like wood, marble, or granite. Vinegar, in particular, can be acidic and may damage certain surfaces if left on for too long. Avoid using it on natural stone surfaces. Baking soda can be abrasive, so use it with caution on easily scratched surfaces. Always dilute the solution properly and wipe it off thoroughly after cleaning.
Q: Can I use essential oils in this cleaning solution? If so, which ones are best?
A: Yes, you can definitely add essential oils to this cleaning solution for a more pleasant scent and added cleaning benefits. Some popular choices include lemon, lavender, tea tree, eucalyptus, and peppermint. Lemon essential oil is known for its degreasing properties, lavender for its calming scent, tea tree for its antibacterial properties, eucalyptus for its refreshing aroma, and peppermint for its invigorating scent. Add a few drops of your favorite essential oil to the cleaning solution and shake well before using.
Q: How long does this DIY cleaning solution last?
A: This DIY cleaning solution is best used fresh, as some ingredients may lose their effectiveness over time. However, it can typically be stored in a sealed container for up to a week or two. Be sure to label the container with the date it was made. If the solution starts to look cloudy or develop an unusual odor, it’s best to discard it and make a fresh batch.
Q: What are some other cleaning shortcuts I can use to save time?
A: Besides using this DIY cleaning solution, there are many other cleaning shortcuts you can incorporate into your routine to save time. Some examples include:
* Cleaning as you go: Wipe up spills immediately and put things away after using them to prevent messes from accumulating.
* Using microfiber cloths: Microfiber cloths are highly absorbent and effective at trapping dirt and dust, reducing the need for harsh chemicals.
* Decluttering regularly: The less clutter you have, the less time you’ll spend cleaning.
* Using a vacuum cleaner with attachments: Vacuum attachments can help you reach tight spaces and clean upholstery, curtains, and other hard-to-reach areas.
* Setting a timer: Set a timer for 15-30 minutes and focus on cleaning one specific area. This can help you stay focused and avoid getting overwhelmed.
* Enlist help: If possible, delegate cleaning tasks to other members of your household.
Q: What if I don’t have all the ingredients for this DIY cleaning shortcut?
A: Don’t worry! You can still try a simplified version of the cleaning solution using just a few basic ingredients. For example, you can mix equal parts vinegar and water for a general-purpose cleaner. Or, you can use dish soap and water for a simple degreaser. The key is to experiment and find what works best for you and your cleaning needs.
Q: Can this cleaning shortcut be used to clean appliances?
A: Yes, this cleaning shortcut can be used to clean many appliances, but always unplug the appliance first and avoid getting any liquid inside the electrical components. For example, you can use it to clean the exterior of your refrigerator, microwave, or oven. You can also use it to clean the inside of your dishwasher or washing machine. Just be sure to rinse thoroughly after cleaning.
Q: I have sensitive skin. Is this DIY cleaning solution safe for me to use?
A: If you have sensitive skin, it’s always a good idea to wear gloves when using any cleaning solution, including this DIY one. You can also dilute the solution further to reduce its concentration. If you experience any irritation or allergic reaction, discontinue use immediately and consult a doctor.
Q: How can I make this cleaning shortcut more eco-friendly?
A: There are several ways to make this cleaning shortcut more eco-friendly. You can use organic or natural ingredients whenever possible. You can also reuse old spray bottles or containers to reduce waste. And, you can avoid using disposable wipes or paper towels by opting for reusable microfiber cloths.


Leave a Comment